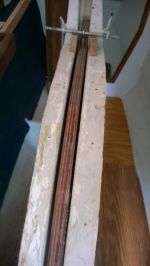
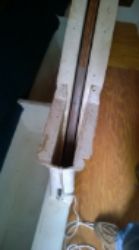
Mark 1 cabin refit ...
-
- Posts: 319
- Joined: Wed Jul 08, 2009 1:19 pm
- Contact:
Re: Mark 1 cabin refit ...
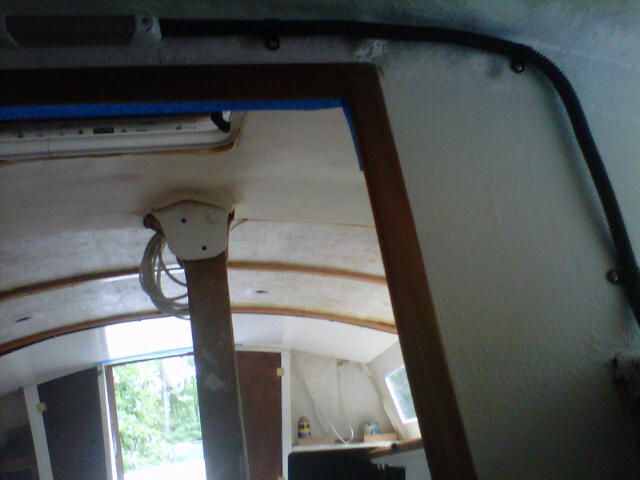
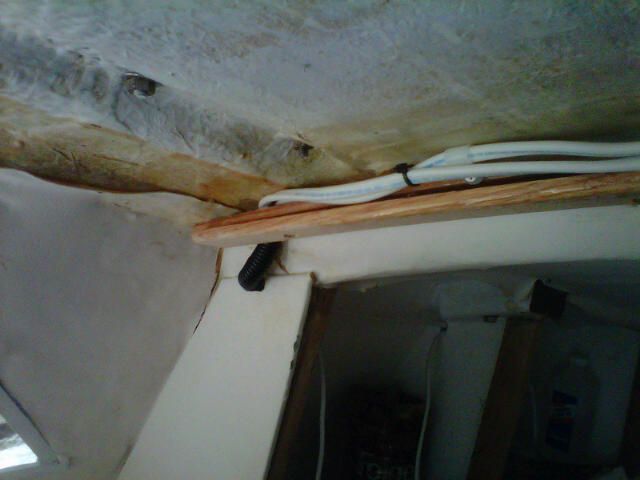
It's time to work on the electrical system. I can't close up the ceiling until it's done. I cut open the wire bundle that feeds the fuse panel. The wires are in decent condition. I'm going to use some 8f the existing wires and add the extra ones I need.
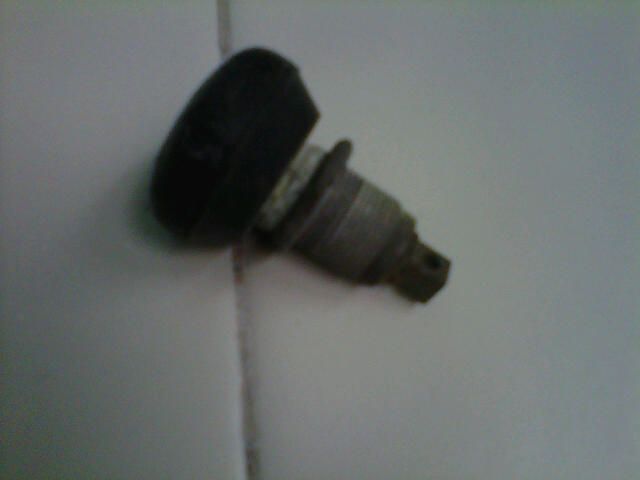
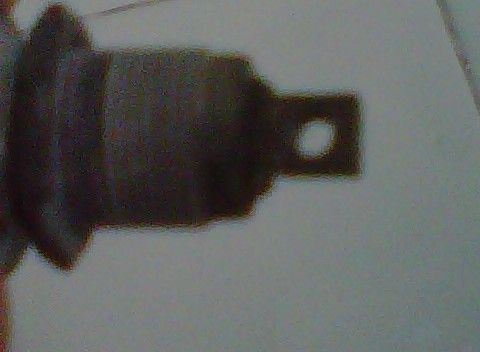
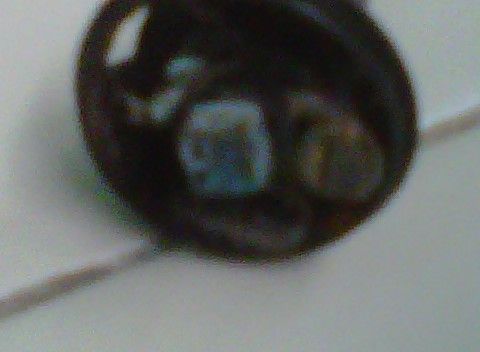
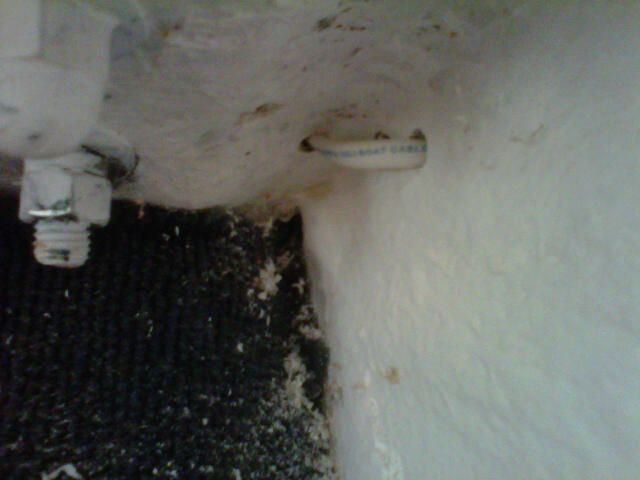
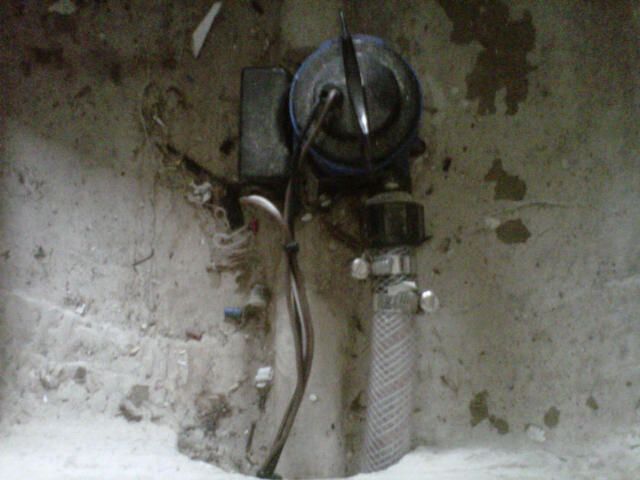
It looks like the ground wires were clustered on a central round grounding device. Here are a few shots.
I have never seen anything like this. There are blade terminals that surround the threaded part of the fitting. I think the hole on the bottom is for a grounding wire. There is another hole on the top when you take off the cap, There is a screw there too. I'm guessing this is a connector to assure good grounding on the center post. I'm seriously considering just replacing it with a grounding bus bar.
Anybody know how this works?
-
- Posts: 319
- Joined: Wed Jul 08, 2009 1:19 pm
- Contact:
Re: Mark 1 cabin refit ...
Updates to my electrical panel work are here: http://www.telstarowners.net/bb/viewtop ... f=23&t=622
I've imported them into this thread, since I have the wiring issues resolved I think.
* * * *
If anyone has a picture of the back of their Mark 1 or 2 distribution panel I'm trying to figure out how Tony wired the master circuit.
Here is what I started with.
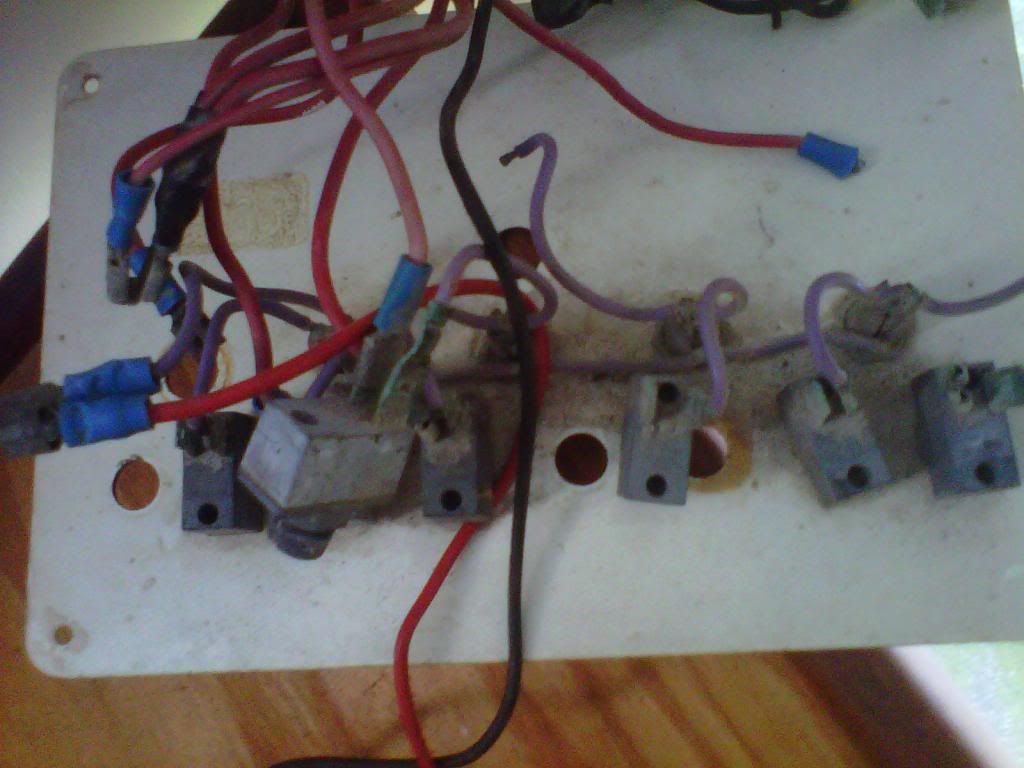
Here is the panel with new fuse holders and switches.
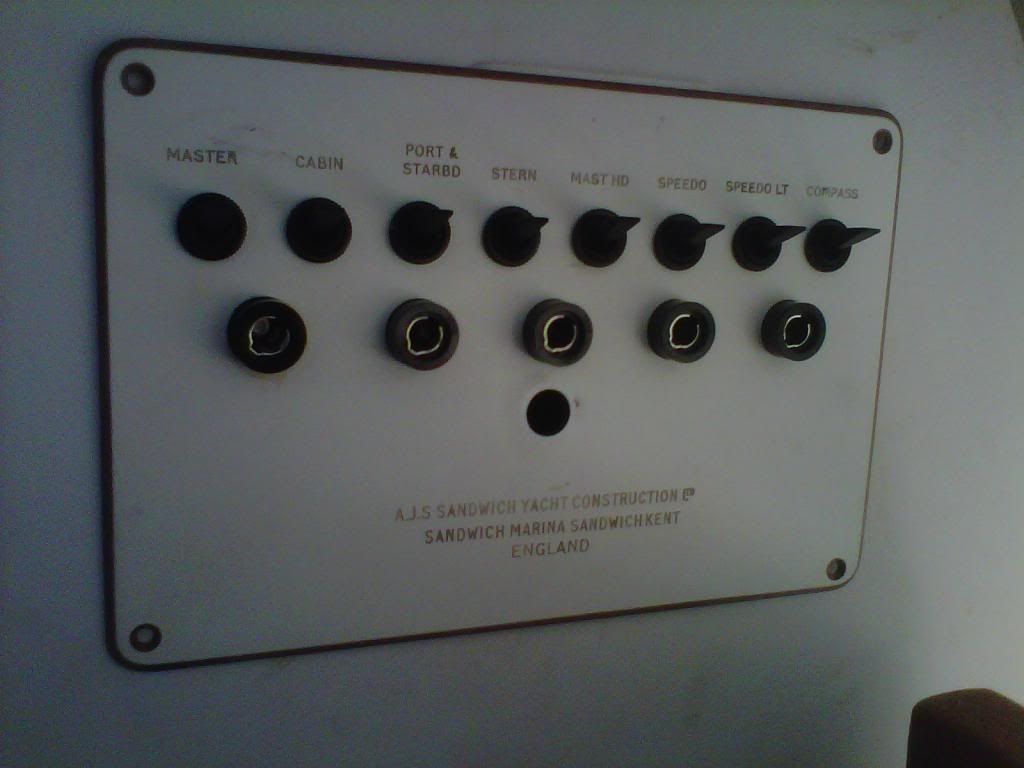
I have gotten this far from the original panel. The main switch and fuse were missing. Anybody that can help fill in the gaps. Has anybody replaced the "button" common ground with a busbar glued onto the back of the panel I think I have the fused circuits and need the tie-in for the main and common ground.
* * * *
And on the 22nd I added:
I think I'm starting to figure this out. I traced the voltmeter wires, which led back to the Master Switch. That wire (red) is linked to the second fuse, which appears to be the bridge between the Master Switch and the 4 linked circuit fuses.
Here is the Green (purple on the original) and red wire on the Master Switch.
I have them tied together but need some female-dual male connectors for connecting these and the cabin lights.
There are two leads that can be attached to a common bus bar for the black (common ground) leads. One comes from the 4 fused circuit group and one from the Master Switch and fuse combination. Since I'm not wiring a speedo ATM, I'm using those open switches to add a bilge pump and switched power socket (cigarette lighter type) under the voltmeter and next to the distribution panel. I am also considering wiring a second power socket over the chart table and providing power for a chart plotter that is going to be mounted over the chart-table. I am using a Fuji Q552 w/wireless GPU and Raster Charts. This way, I can take the Q552 out of its mounts and use it in the cockpit.
That looks to be the only modifications to the wiring and distribution panel ATM. I'm building into the Distribution network from the battery-regulator-fuse-Switch to the distribution panel so that a second panel would not be hard to add. That would allow for additional circuits as needed, if extra equipment, instruments or systems are added to the boat. I would probably keep them fused and just put the additional panel under this one on the Port Side Aft. The radio, will have a direct take-off from the battery, fused in-line. That should do it for now.
Work left to be done on the electrical is the tracing of all the existing wires and running the additional wires so I can close up the coach-roof. I would like to mount a battery and add a charger/shore plug fitting, so I can keep a battery charged and have working bilge pumps. I'll need wiring and coax for the mast. I'm putting an antenna, 360 white LED masthead light and wind vane up there. A windex light to illuminate the wind vane on the same circuit as the masthead light would be a nice comfort feature for night sailing.
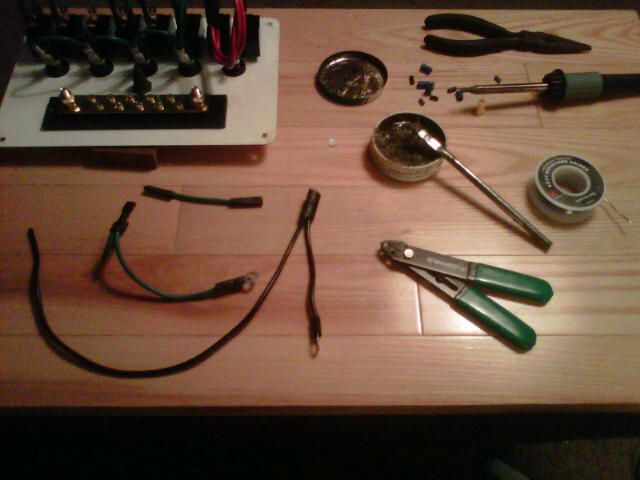
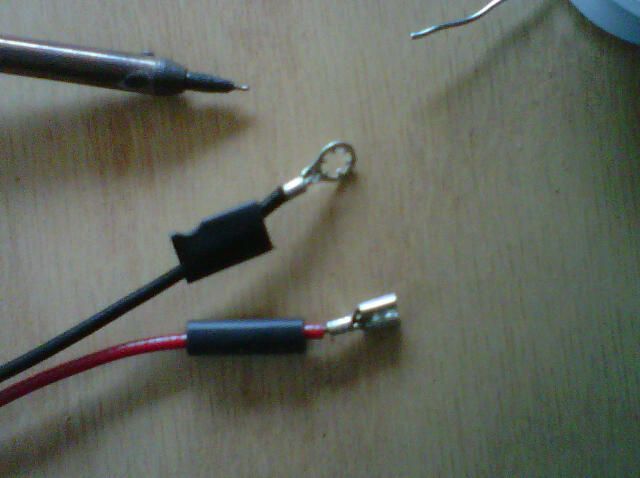
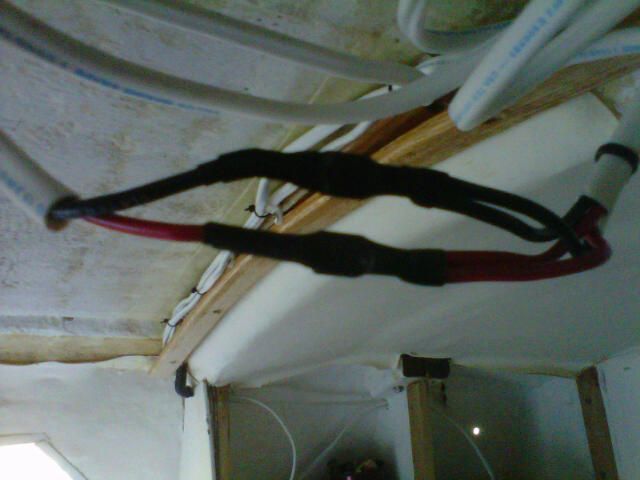
While I have a soldering station set-up, I'm going to add the red and black leads with blade connections but they will be attached to the existing wires with an in-line butt connection/shrink wrap connection. That way, the panel can come completely out for modification if needed. I'm running mostly 14 gauge wire, with 16 g for the lighting. The radio power line will probably get 12 gauge running in the coach roof conduit by itself. I would like a radio that I can operate remotely from a plug in the cockpit. Wiring for that will probably need to be routed in the coach roof as well.
I've imported them into this thread, since I have the wiring issues resolved I think.
* * * *
If anyone has a picture of the back of their Mark 1 or 2 distribution panel I'm trying to figure out how Tony wired the master circuit.
Here is what I started with.
Here is the panel with new fuse holders and switches.
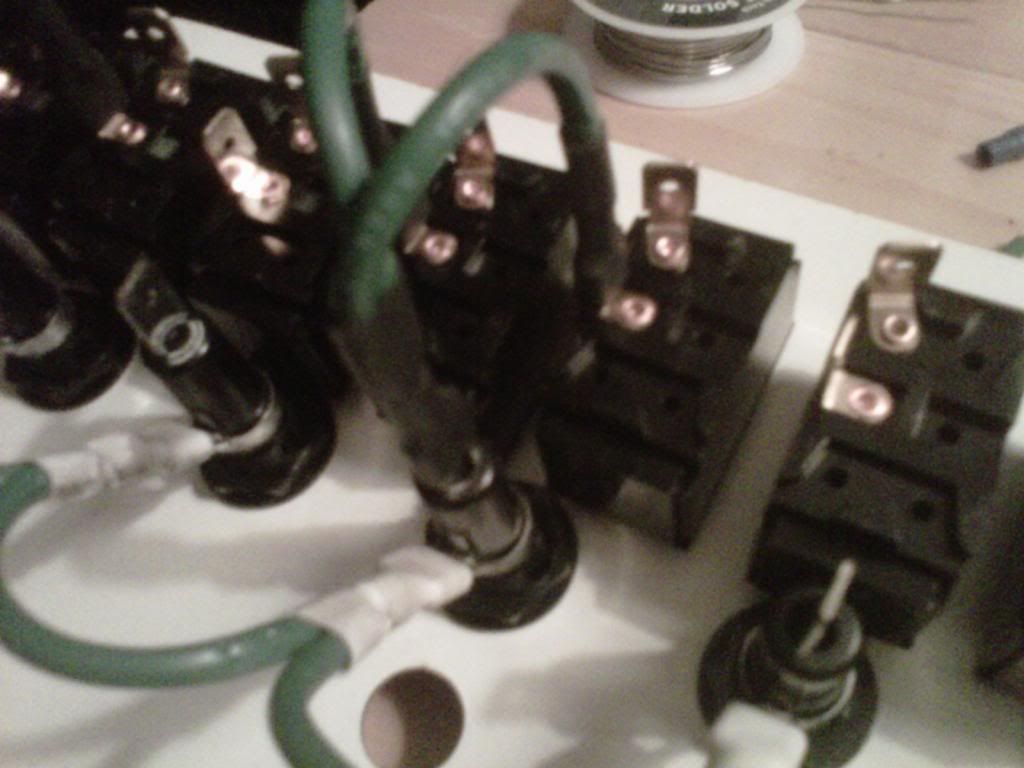
I have gotten this far from the original panel. The main switch and fuse were missing. Anybody that can help fill in the gaps. Has anybody replaced the "button" common ground with a busbar glued onto the back of the panel I think I have the fused circuits and need the tie-in for the main and common ground.
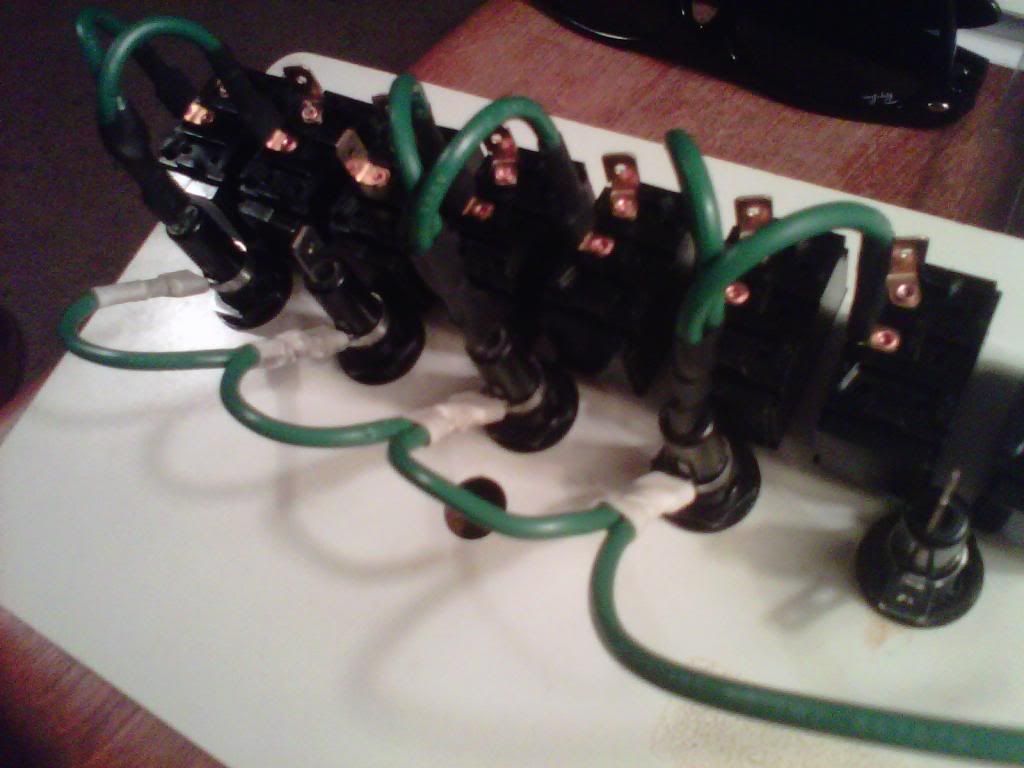
* * * *
And on the 22nd I added:
I think I'm starting to figure this out. I traced the voltmeter wires, which led back to the Master Switch. That wire (red) is linked to the second fuse, which appears to be the bridge between the Master Switch and the 4 linked circuit fuses.
Here is the Green (purple on the original) and red wire on the Master Switch.
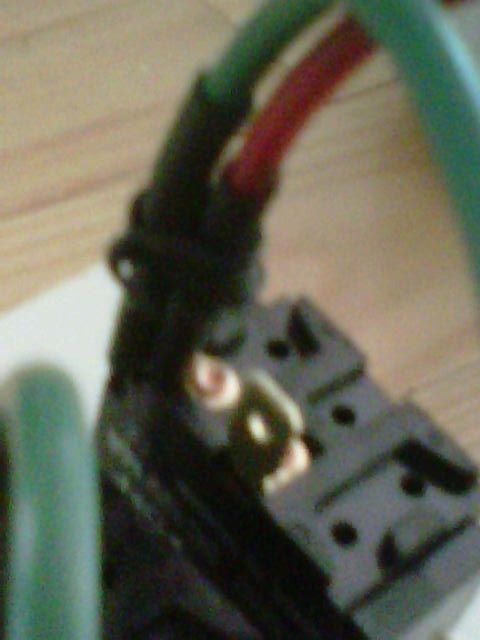
I have them tied together but need some female-dual male connectors for connecting these and the cabin lights.
There are two leads that can be attached to a common bus bar for the black (common ground) leads. One comes from the 4 fused circuit group and one from the Master Switch and fuse combination. Since I'm not wiring a speedo ATM, I'm using those open switches to add a bilge pump and switched power socket (cigarette lighter type) under the voltmeter and next to the distribution panel. I am also considering wiring a second power socket over the chart table and providing power for a chart plotter that is going to be mounted over the chart-table. I am using a Fuji Q552 w/wireless GPU and Raster Charts. This way, I can take the Q552 out of its mounts and use it in the cockpit.
That looks to be the only modifications to the wiring and distribution panel ATM. I'm building into the Distribution network from the battery-regulator-fuse-Switch to the distribution panel so that a second panel would not be hard to add. That would allow for additional circuits as needed, if extra equipment, instruments or systems are added to the boat. I would probably keep them fused and just put the additional panel under this one on the Port Side Aft. The radio, will have a direct take-off from the battery, fused in-line. That should do it for now.
Work left to be done on the electrical is the tracing of all the existing wires and running the additional wires so I can close up the coach-roof. I would like to mount a battery and add a charger/shore plug fitting, so I can keep a battery charged and have working bilge pumps. I'll need wiring and coax for the mast. I'm putting an antenna, 360 white LED masthead light and wind vane up there. A windex light to illuminate the wind vane on the same circuit as the masthead light would be a nice comfort feature for night sailing.
While I have a soldering station set-up, I'm going to add the red and black leads with blade connections but they will be attached to the existing wires with an in-line butt connection/shrink wrap connection. That way, the panel can come completely out for modification if needed. I'm running mostly 14 gauge wire, with 16 g for the lighting. The radio power line will probably get 12 gauge running in the coach roof conduit by itself. I would like a radio that I can operate remotely from a plug in the cockpit. Wiring for that will probably need to be routed in the coach roof as well.
-
- Posts: 319
- Joined: Wed Jul 08, 2009 1:19 pm
- Contact:
Re: Mark 1 cabin refit ...
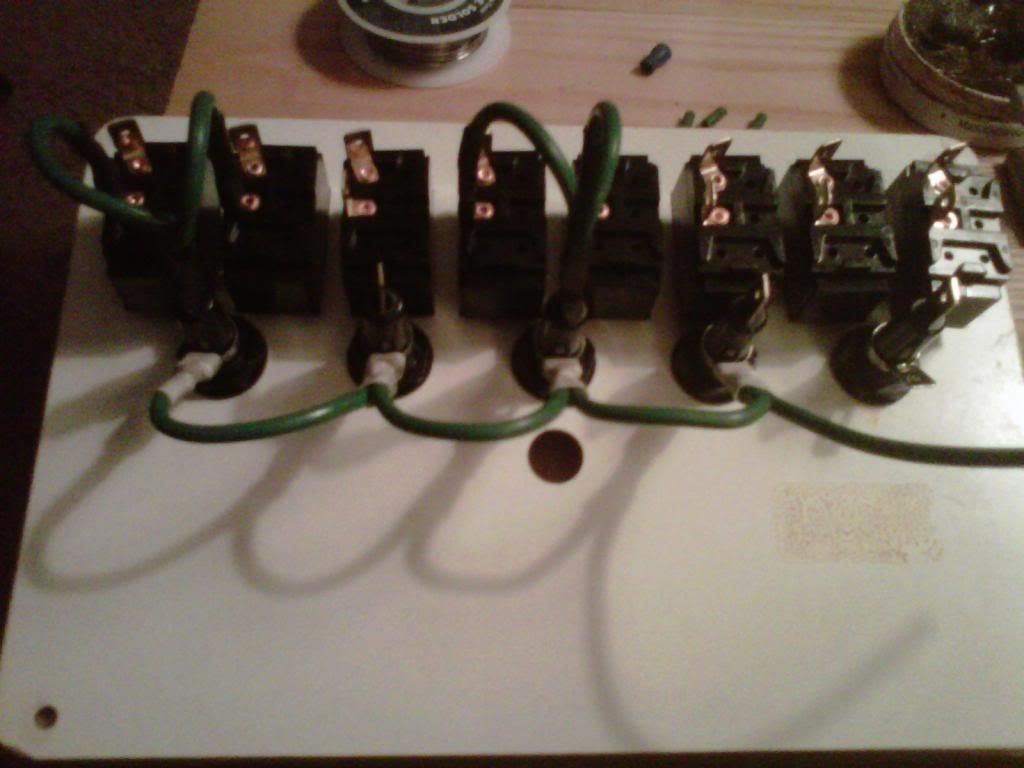
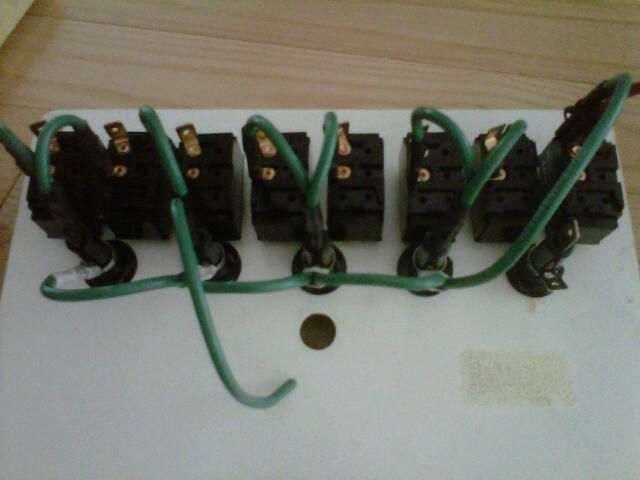
Finished the basic wiring for the panel. All the remaining jumpers are complete. I figured out the master circuit wiring and common ground issues. My work table is a hardwood floor sample that I never took back.
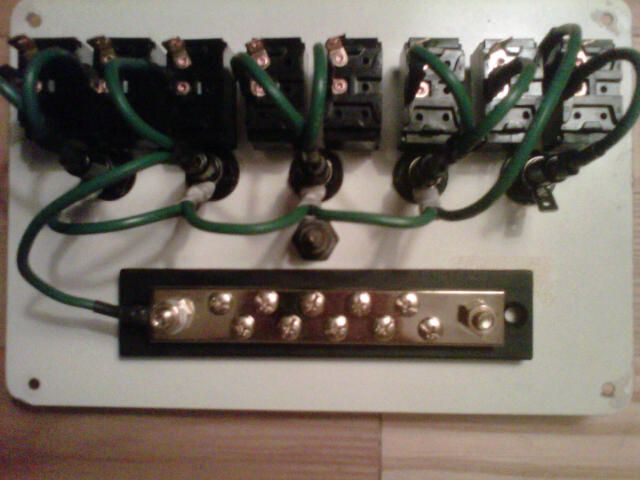
And here is the finished panel, ready to be wired to the fixtures. State of the Art for 1972! You can see that I did away with the small grounding button used on the original Mark 1 panel. I added a grounding buss bar. With the fuses in place and the grounding bar added, I can run continuity tests to make sure the switches work as designed.
Continuity bench tests seem to indicate that everything works properly. For now, the grounding bar is held on with double sided tape. I'll be gluing it to the back of the distribution panel. I can get back onto the boat this weekend, run-down all the wiring and start to make the connections. Any additional wires can be run so that I can close up the ceiling. I like the look of the glossy panels on the ceiling. I'll probably replace them eventually with either white formica panels or fiberglass panels for durability and weight. There is a lot of room above the ceiling to run wires, etc.
My punch list inside the cabin is growing shorter. I'm hoping to get to the exterior hardware bonding before too long. That will require raising the amas, so, I'll be installing the new, galvanized brackets. That leaves only the engine and paint. I'll probably give the brightwork a coat and refresh the bottom with a coat, before taking it to a yard. I'm hoping to do that before it gets too deep into the fall. I still have not decided what I'll be doing for power, at least temporarily. The fitment of the Seadoo engine is going to take some effort. On the other hand, it makes no sense to me to hang an outboard at this point, if a few more months will get me the power the boat was designed for. Now, if I could only find a decent Seadoo mechanic who had the instincts of a shoe maker.
I've noticed that the work I'm doing is more targeted and discrete. Each thing you finish really makes a difference. It's really starting to look like a boat in there.
-
- Posts: 319
- Joined: Wed Jul 08, 2009 1:19 pm
- Contact:
Re: Mark 1 cabin refit ...
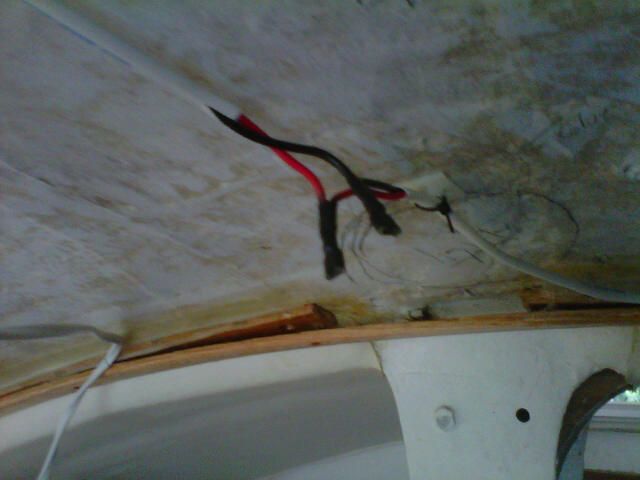
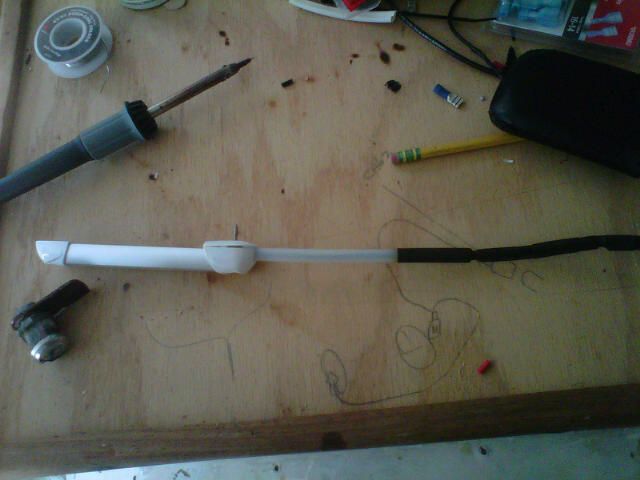
Although my original wiring still had continuity, resistance was off the charts. When I stripped some wires, corrosion was evident. So, I pulled out the old and ran new. All of the fittings are soldered and shrink wrapped to water proof them as much as possible.
I'm running a port and starboard cabin trunk line. I'm putting a dome light in for now but want to switch to small recessed spots. Then the dome will get red bulbs for night sailing.
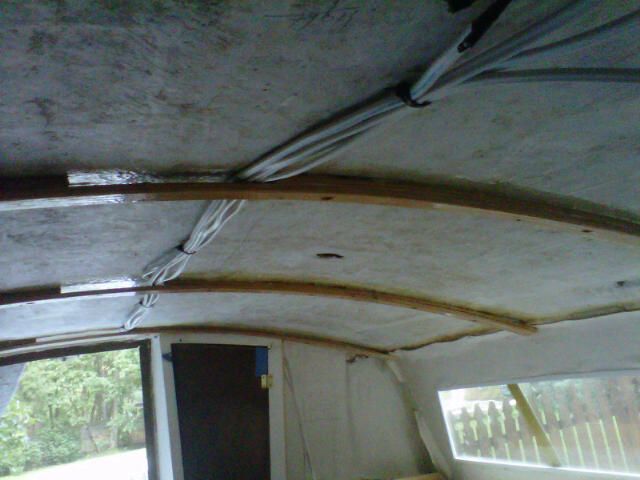
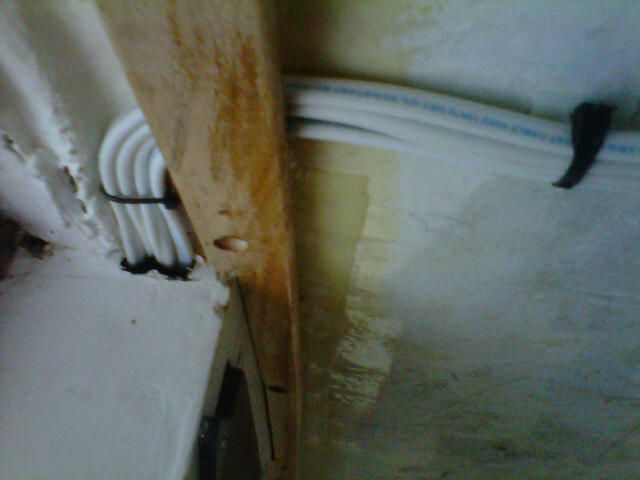
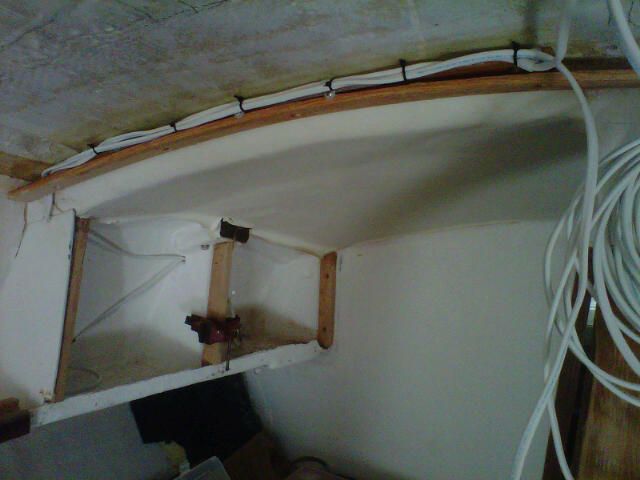
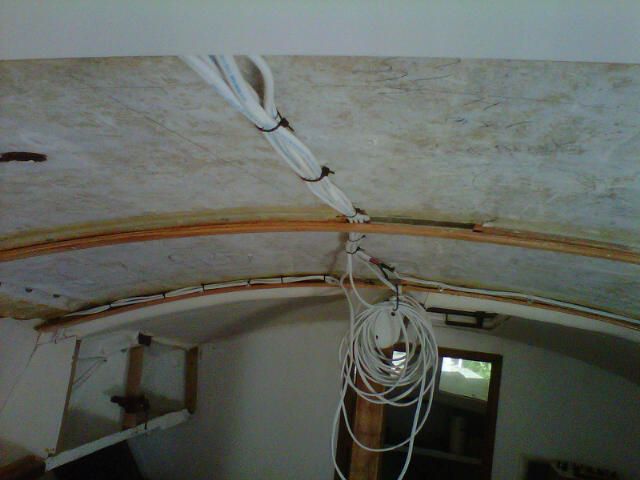
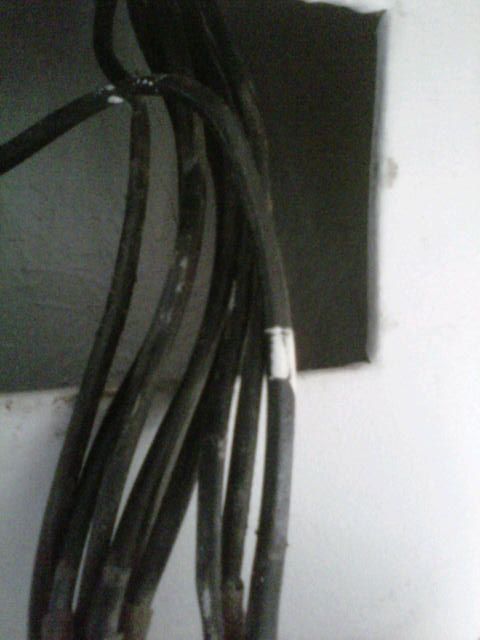
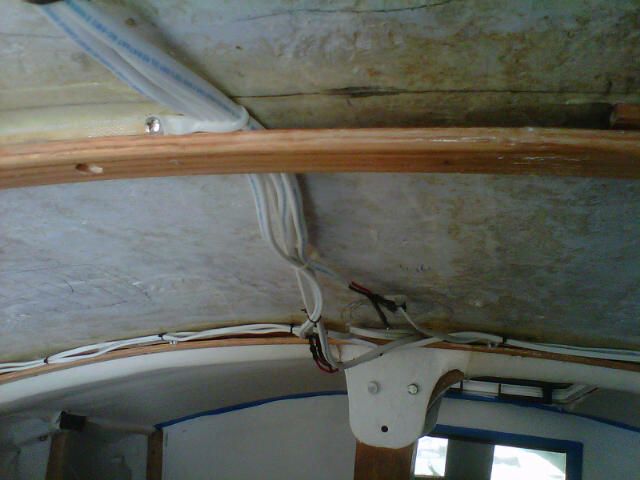
All of the cabin and running lights are bundled in the coach roof. Nice and neat.
Lines out from the panel. Nice and neat too.
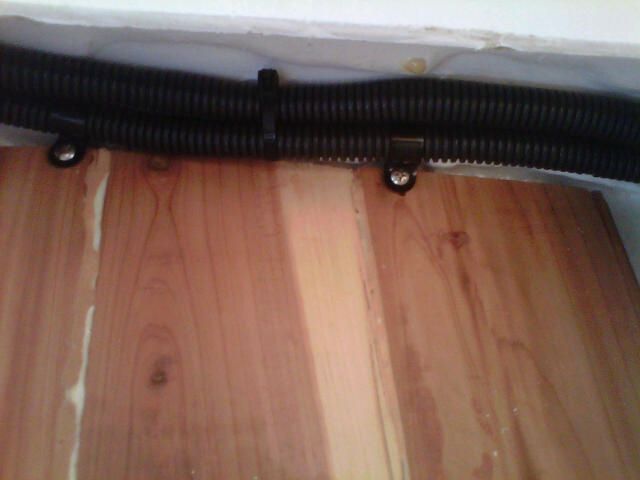
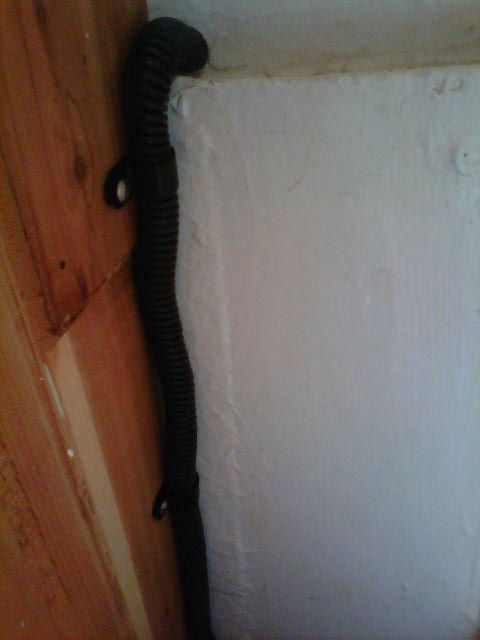
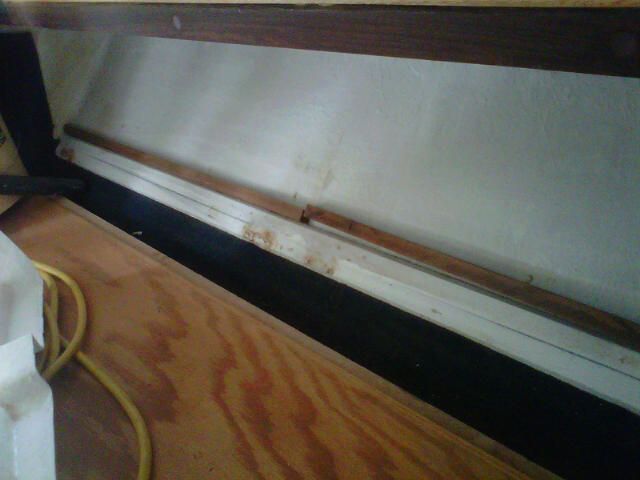
All wires in open areas are in conduit.
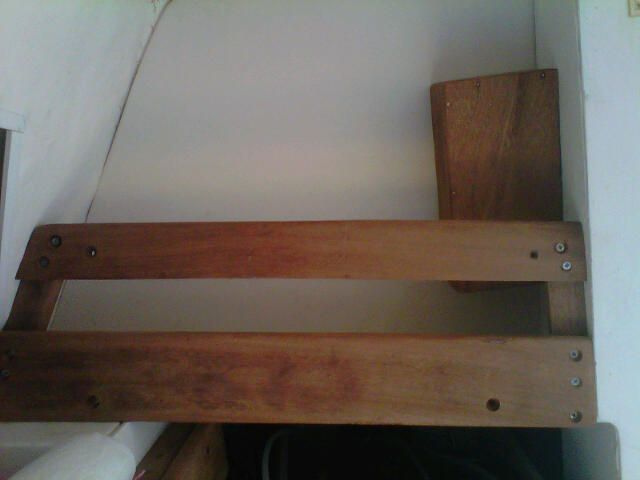
While I was running wires, I finished the starboard shelf and mounted the compass back cover.
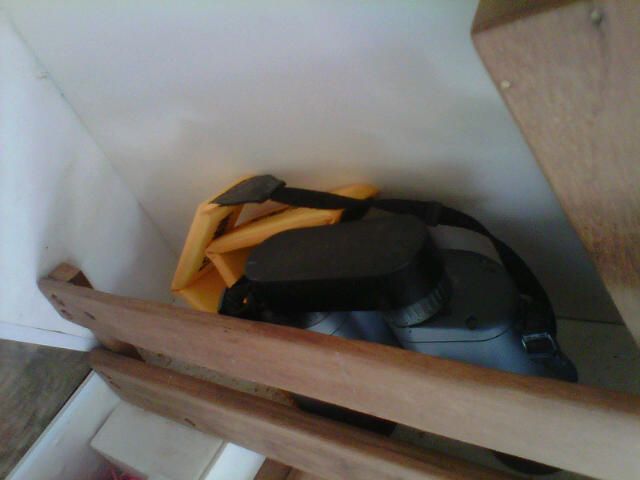
Perfect place for binoculars. Nice and secure.
-
- Posts: 319
- Joined: Wed Jul 08, 2009 1:19 pm
- Contact:
Re: Mark 1 cabin refit ...
Some more updates:
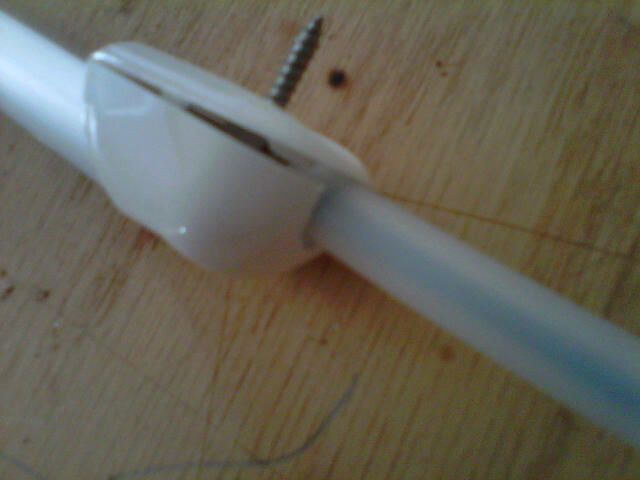
The light in the forward cabin (which is doubling as a bathroom) is sealed in shrinkwrap and a plastic tube to keep water out. It will be covered by conduit from a switch in the forepeak to the light which will hang over the door.
The port cabin trunk line runs up to the forepeak. The running lights are bundled with the trunk line.
All of the lines going forward are now in place and the coachroof can begin to go back.
While I have everything open, I can begin to work on redoing the port bins. I got rid of the hinges and am putting the wood stop the same as I did on the starboard side.
The port cabin trunk line is led through to a switch.
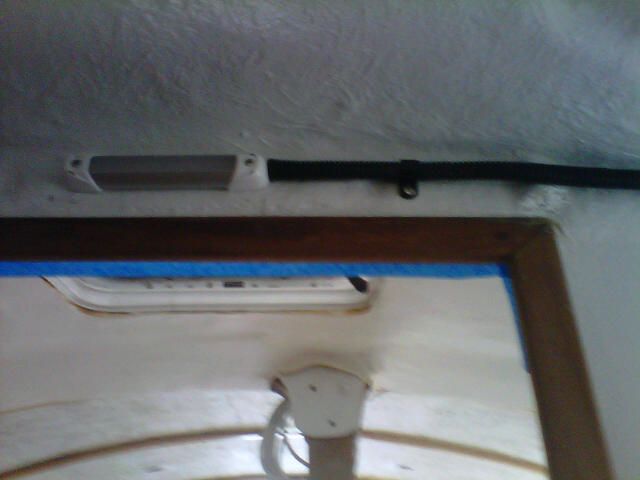
This needs a piece of conduit for protection. The wire will not be exposed once the cabinet and trim is put back. I need to run one more power wire up here for a radio.
-
- Posts: 319
- Joined: Wed Jul 08, 2009 1:19 pm
- Contact:
Re: Mark 1 cabin refit ...
Progress:
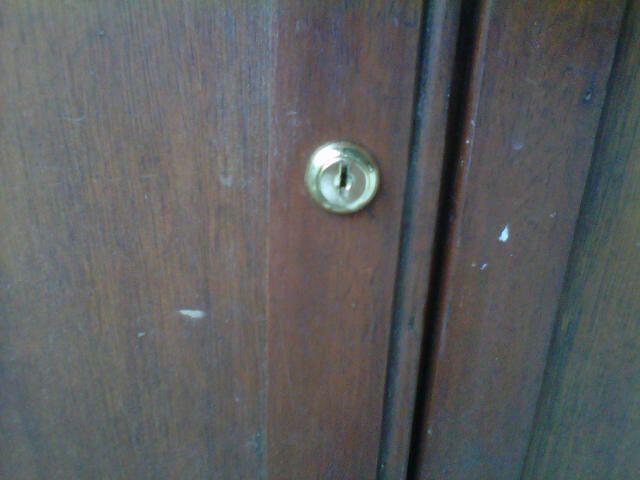
Lock installed on the door.
Forecabin light.
Forepeak light and conduit.
Port bins.
Bilge pump installed and wired.
Running lights junction.
Main trunk lines.
Under-cabinet lighting and starboard running lights.
Port lighting and running wires.
Lock installed on the door.
Forecabin light.
Forepeak light and conduit.
Port bins.
Bilge pump installed and wired.
Running lights junction.
Main trunk lines.
Under-cabinet lighting and starboard running lights.
Port lighting and running wires.
-
- Posts: 319
- Joined: Wed Jul 08, 2009 1:19 pm
- Contact:
Re: Mark 1 cabin refit ...
Progress:
Wiring is almost done. There are lights in the front cabin and the galley. There is a switch to be wired in the forepeak, an outlet for a map light at the chart table, and a connection for the dome light. There is wiring for the courtesy lights near the cabin passage way and a switch. Wiring is set for outlets near the chart table and on the main panel. The bilge pump in the cabin sole is wired. Almost all of the wiring is done.
Took a break from wiring and started trimming out the forepeak.
Freshened up the drain floor, which had taken quite a beating with all the work in the forepeak.
Freshened up the fiberglass hull fascia in the main cabin.
Cleaned up wires transitioning from the coach roof to the galley and running lights.
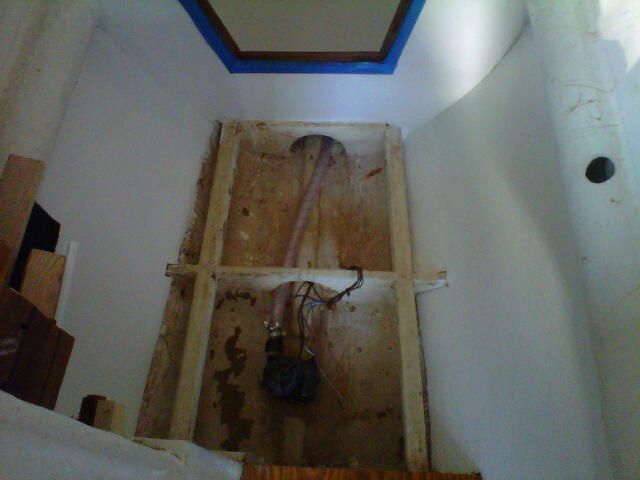
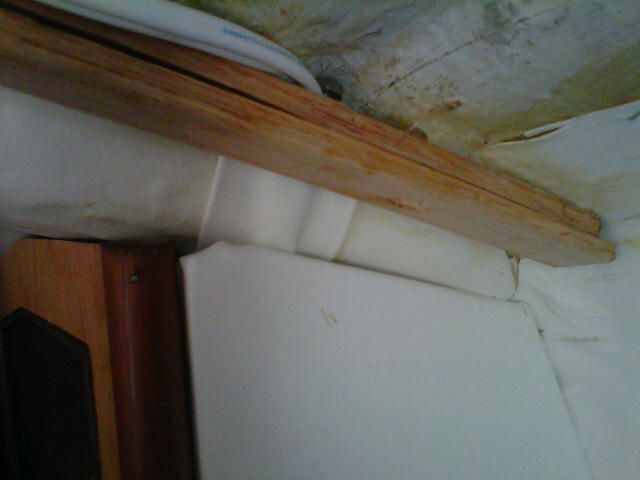
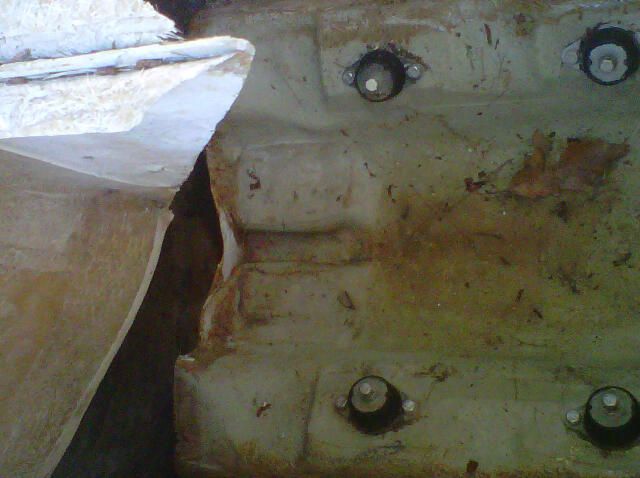
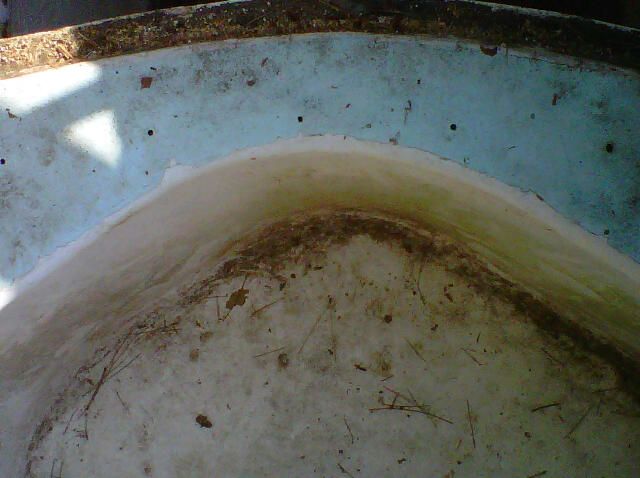
There is probably a few more weeks trimming and finishing up the cabin. But, I'm starting to see the light at the end of the tunnel. I'm turning to hardware bonding next to finish that task. The only major issue remaining is the engine. I spent some time contemplating my biggest concern with the engine. If you look at the picture, you'll see how close the back of the cockpit is to the motor mounts.
My concern is that the headers and muffler won't fit without modification. I've been looking at it closely and I may have to shorten the cockpit a bit to make the motor fit.
I guess it will take 6"-8" out of the cockpit back to make plenty of installation room for the engine. I'm thinking of molding the same curve but taking 6 to 8 inches out of the cockpit base, cutting out the original glass which would then be behind the new molding. This should be an easy way to gain the extra rom needed. Plus, no modifications would be needed to the rear doors giving access to the engine compartment. This modification should not be that involved. I'll update as my thoughts progress.
-
- Posts: 319
- Joined: Wed Jul 08, 2009 1:19 pm
- Contact:
Re: Mark 1 cabin refit ...
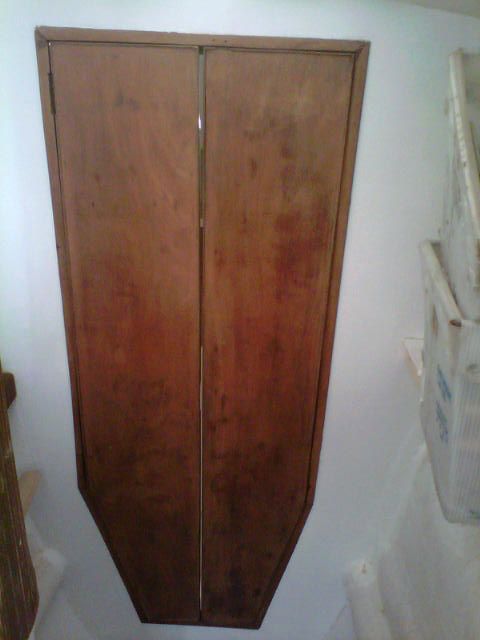
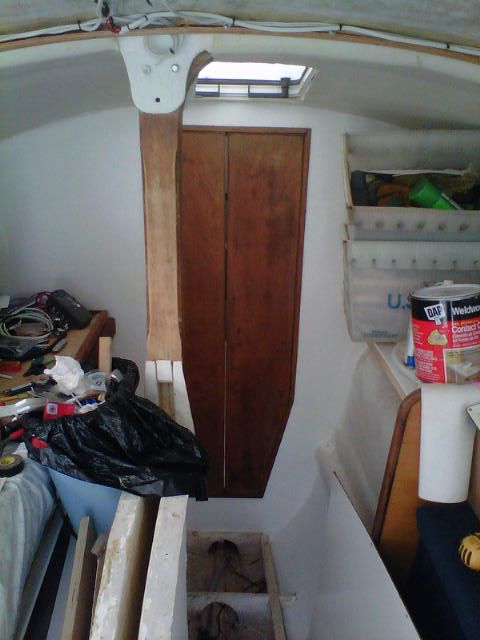
Door frame is sanded and, after some repair, door is ready for hanging.
Fit looks decent.
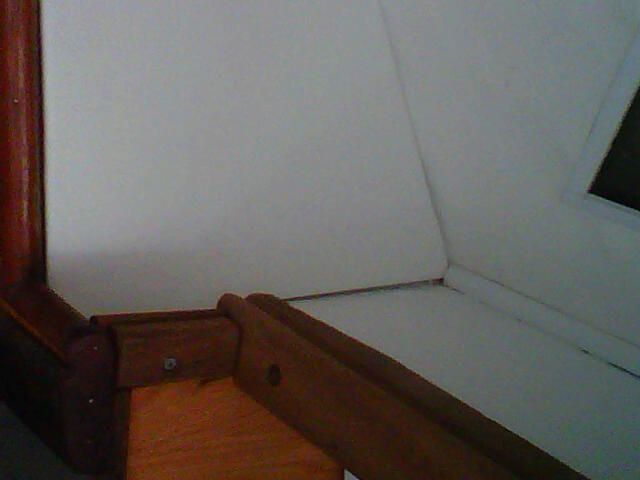
Corner looks decent with the trim panel in place.
Fit looks decent.
Corner looks decent with the trim panel in place.
-
- Posts: 116
- Joined: Sat Aug 09, 2014 4:43 pm
- Contact:
Re: Mark 1 cabin refit ...
Hi all.
Thought I'd drop by with a quick update. I have tons of construction pics but no time to post them. Basically the cabin is done. Here it is:
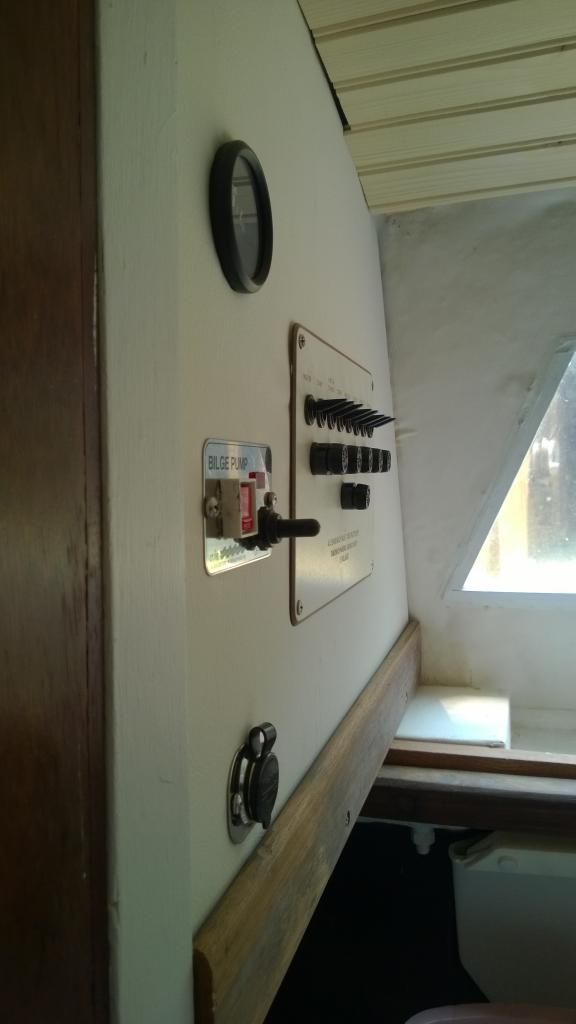
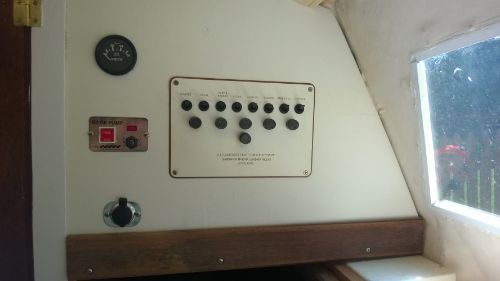
Electrical Panel.
Panel Head on.
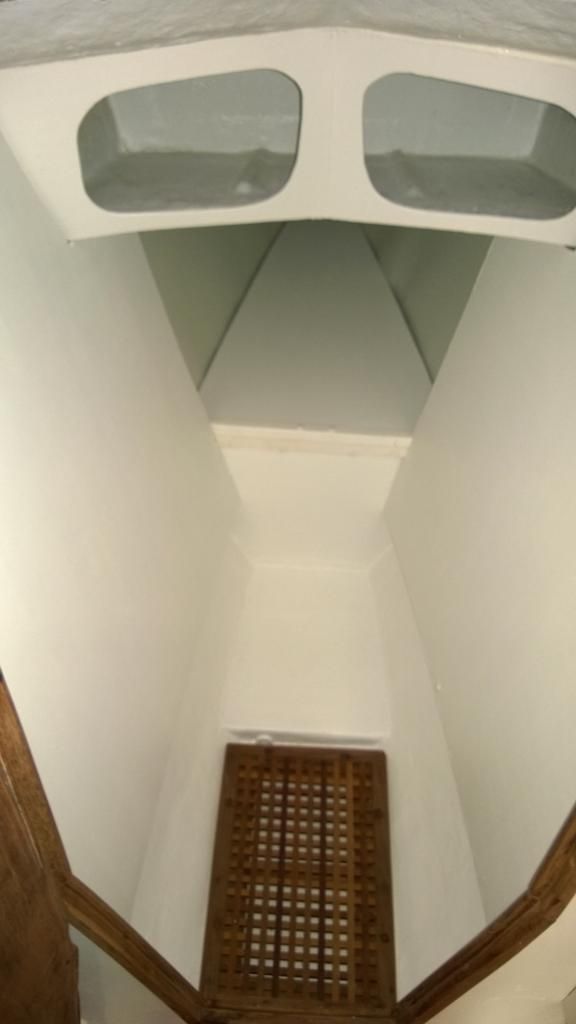
Forepeak finished. You can see the shower drain which is connected to its own sump. The grate turned out nice.
Companionway lighting. Switch on the right. All I need is red LED bulbs.
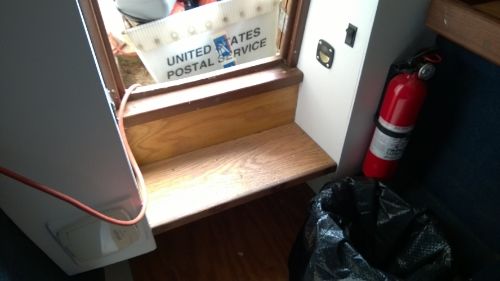
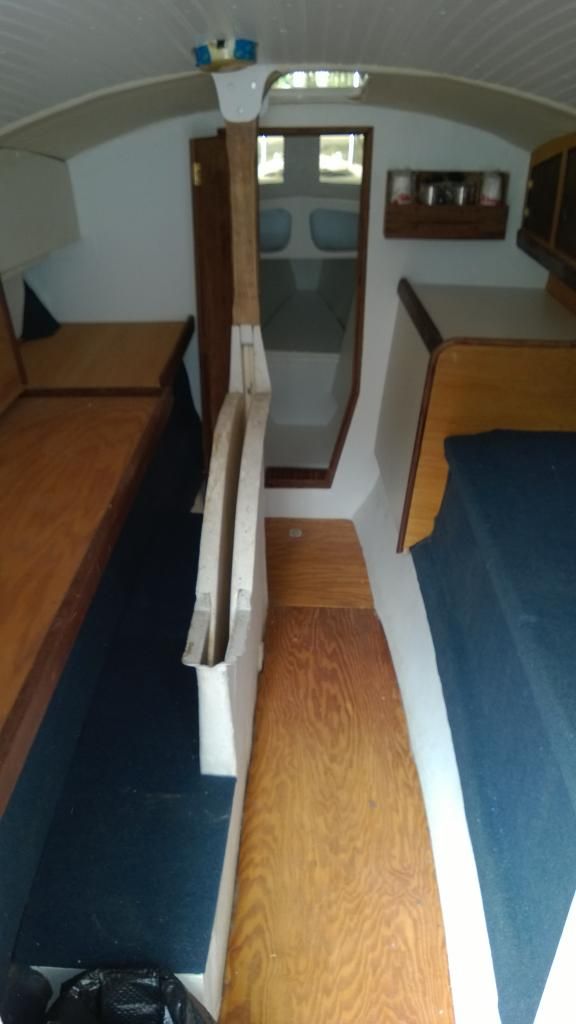
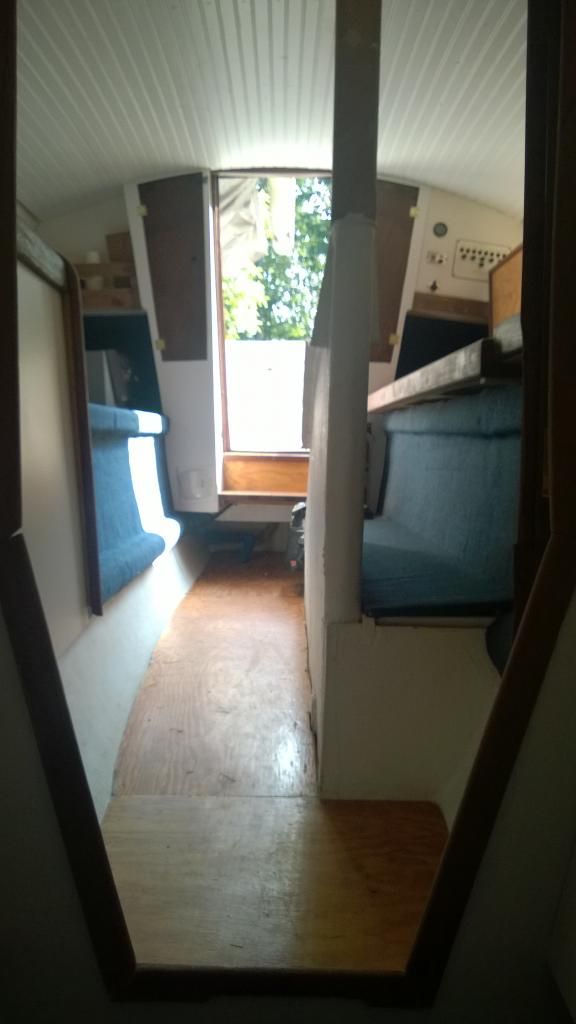
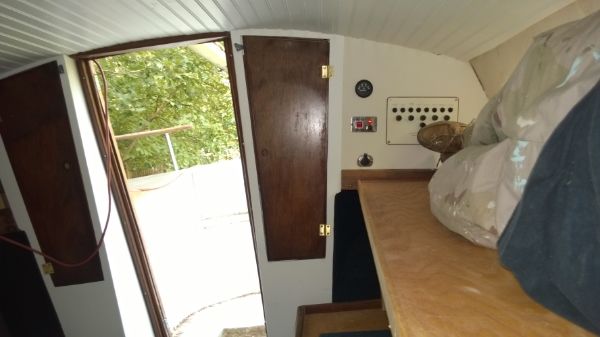
View from the cockpit looking forward.
And from the forepeak looking aft.
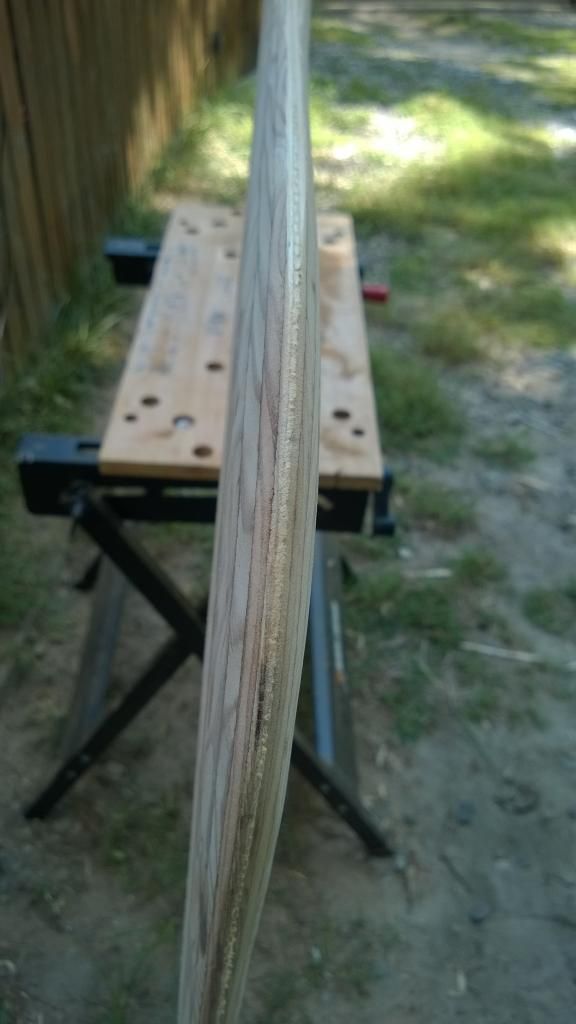
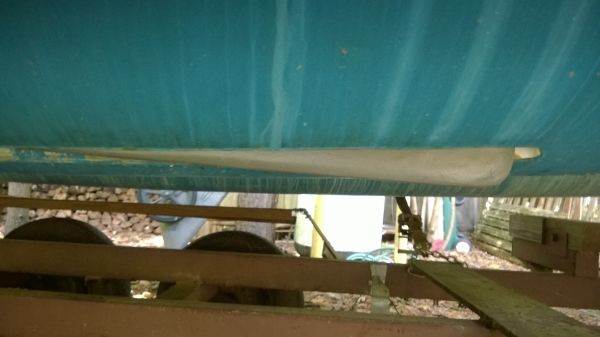
Working on the centerboard at the moment. The board I made using the delaminated mess I found in my boat worked out, as it fits perfectly in the well. I can confirm that the board can go in from the inside while on the trailer. There's actually plenty of room. I've lofted the bottom part of the board, using the centerboard of my old Hobie 17 as a model.
Shaping the centerboard.
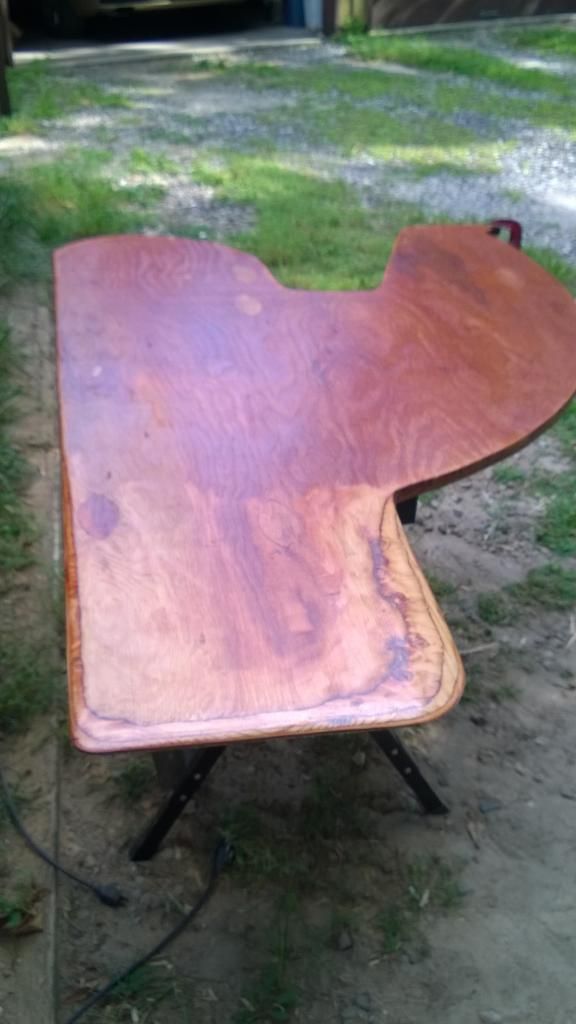
Here it is with a coat of West epoxy on one side. It's coming along remarkably well. I should have it in the well by the end of next week and work on a raising and lowering mechanism that will allow me to close the top of the centerboard case.
Centerboard:
Hope everyone is well. More when I get the chance.
8/25/14 Update: A couple more centerboard shots showing the lofting and shaping better. http://www.telstarowners.net/bb/viewtop ... t=10#p4431
Thought I'd drop by with a quick update. I have tons of construction pics but no time to post them. Basically the cabin is done. Here it is:
Electrical Panel.
Panel Head on.
Forepeak finished. You can see the shower drain which is connected to its own sump. The grate turned out nice.
Companionway lighting. Switch on the right. All I need is red LED bulbs.
View from the cockpit looking forward.
And from the forepeak looking aft.
Working on the centerboard at the moment. The board I made using the delaminated mess I found in my boat worked out, as it fits perfectly in the well. I can confirm that the board can go in from the inside while on the trailer. There's actually plenty of room. I've lofted the bottom part of the board, using the centerboard of my old Hobie 17 as a model.
Shaping the centerboard.
Here it is with a coat of West epoxy on one side. It's coming along remarkably well. I should have it in the well by the end of next week and work on a raising and lowering mechanism that will allow me to close the top of the centerboard case.
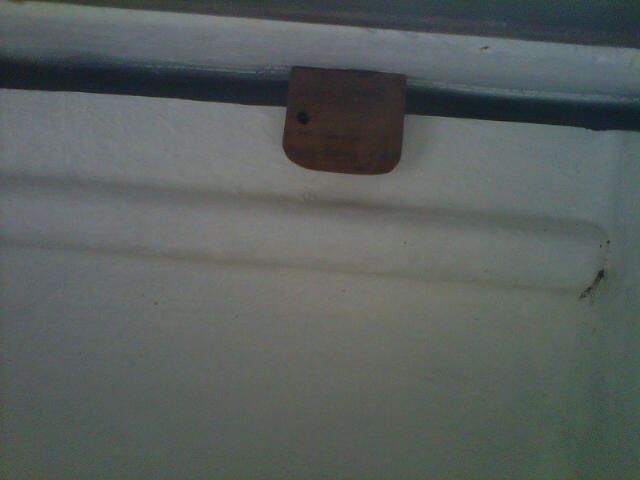
Centerboard:
Hope everyone is well. More when I get the chance.
8/25/14 Update: A couple more centerboard shots showing the lofting and shaping better. http://www.telstarowners.net/bb/viewtop ... t=10#p4431
-
- Posts: 116
- Joined: Sat Aug 09, 2014 4:43 pm
- Contact:
Re: Mark 1 cabin refit ...
Update: Labor Day.
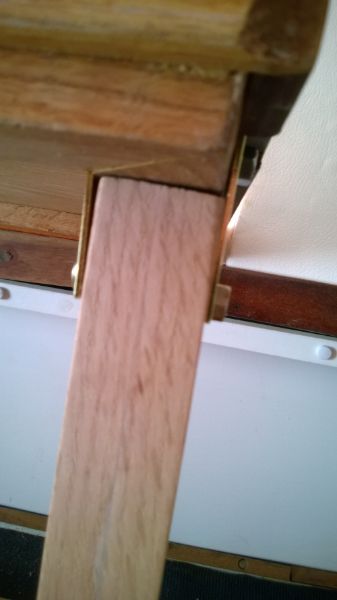
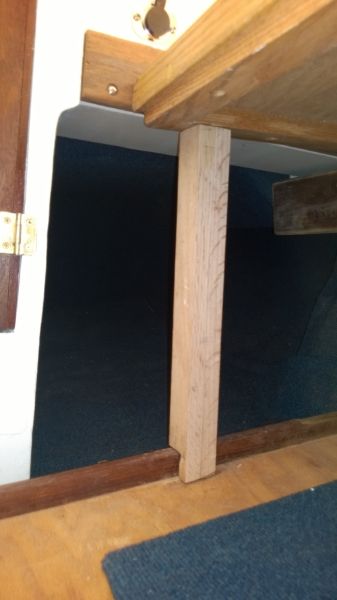
Finishing up the braces for the bunks. Worked out well. Very strong and stable.
Forebrace.
Aftbrace (without bracket installed yet):
Strong and incredibly stable. I'm sure the top bunk will need a lee-cloth of some sort:
Fitting the Centerboard. After a third coat of barrier coat/epoxy, the board is fitted.
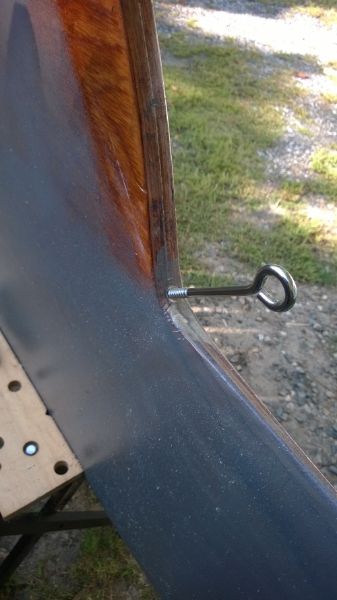
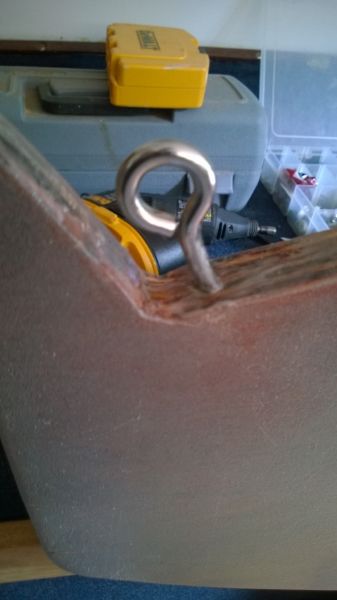
Installed a stainless eye for the top and bottom rope lines to raise and lower the board.
Bracing the board in place to measure for the pivot hole.
The board fits perfectly.
Next step is to fit the pivot bolt, drill the pivot hole on the centerboard, fit spacers on each side of the pivot hole, coat in the inside of the hole with West Graphite for wear. Then I can rig up the lines to raise and lower the board and put the top on the centerboard case. Once that assembly is together I can carpet the case. Those are the last details in the cabin. Next is the hardware on the outside.
I am putting the hull raising gantry together again. It's been awhile. I hope the brackets fit as well as the centerboard seems to.
Finishing up the braces for the bunks. Worked out well. Very strong and stable.
Forebrace.
Aftbrace (without bracket installed yet):
Strong and incredibly stable. I'm sure the top bunk will need a lee-cloth of some sort:
Fitting the Centerboard. After a third coat of barrier coat/epoxy, the board is fitted.
Installed a stainless eye for the top and bottom rope lines to raise and lower the board.
Bracing the board in place to measure for the pivot hole.
The board fits perfectly.
Next step is to fit the pivot bolt, drill the pivot hole on the centerboard, fit spacers on each side of the pivot hole, coat in the inside of the hole with West Graphite for wear. Then I can rig up the lines to raise and lower the board and put the top on the centerboard case. Once that assembly is together I can carpet the case. Those are the last details in the cabin. Next is the hardware on the outside.
I am putting the hull raising gantry together again. It's been awhile. I hope the brackets fit as well as the centerboard seems to.
Who is online
Users browsing this forum: No registered users and 1 guest