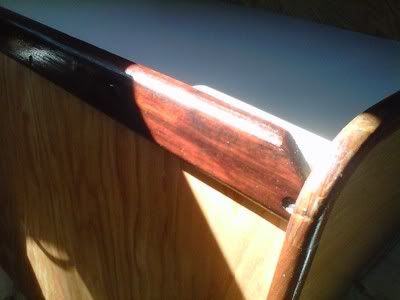
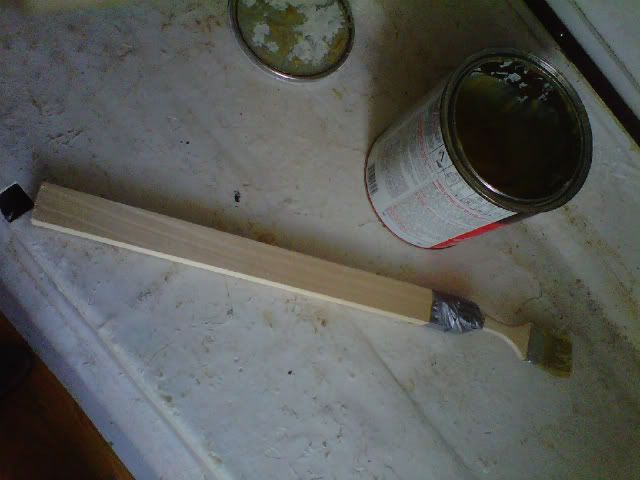
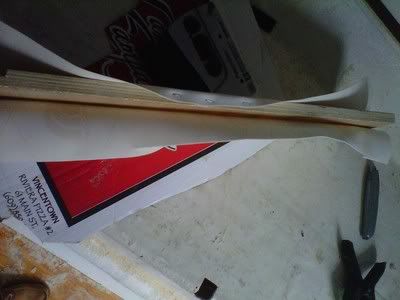
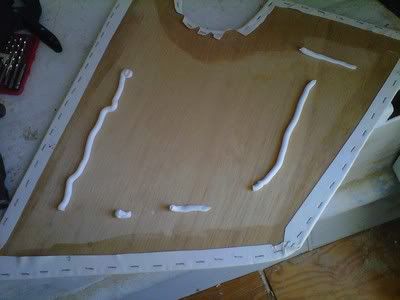
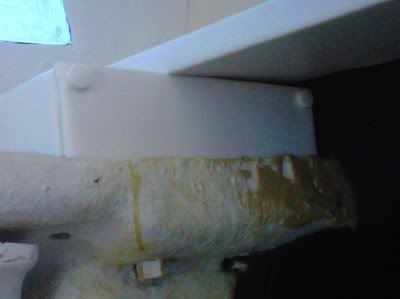
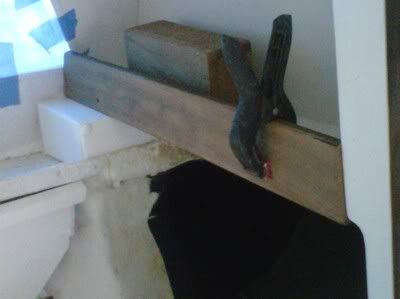
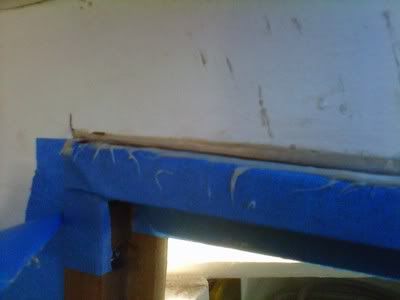
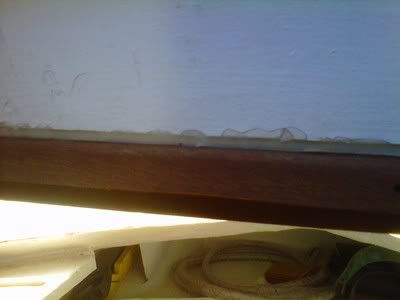
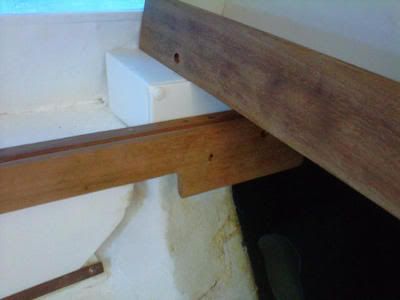
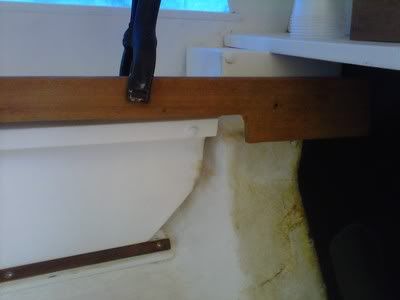
When that work got too tedious, I went back to the starboard side. I first replaced the small teak rail on the edge of the side shelf, screwing and using epoxy to affix it to the shelf edge. I am doing this because the edge has a bend in it and I'm trying to straighten it out.
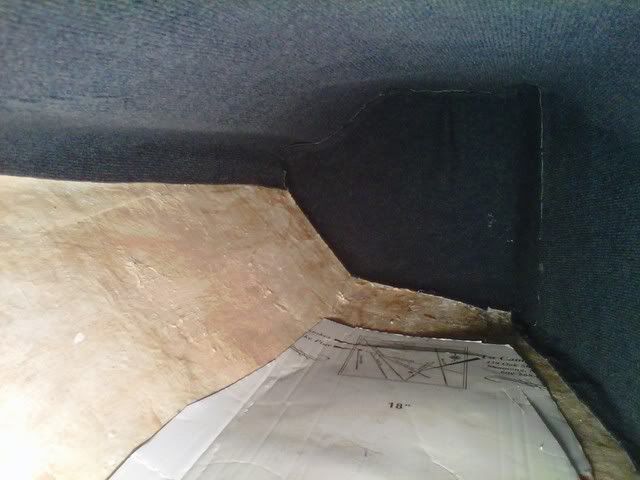
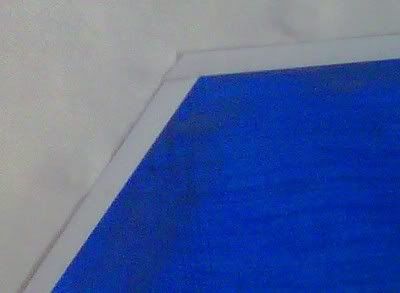
This will show you the bend that I am trying to take out of the small rail.
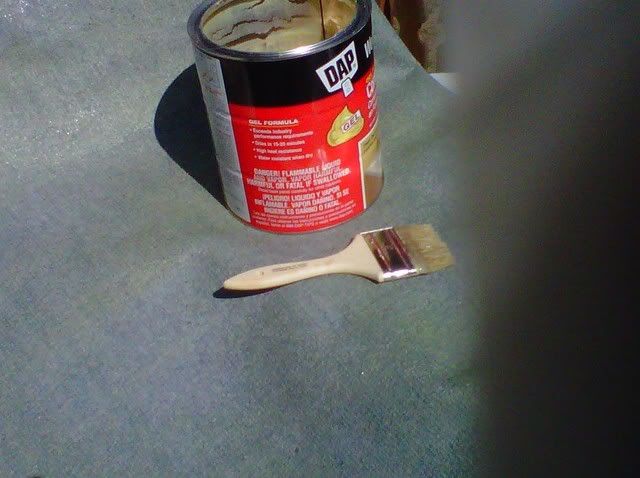
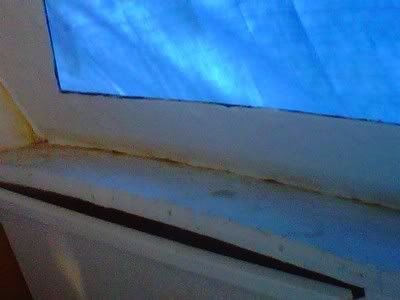
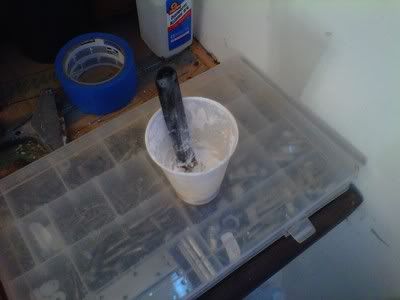
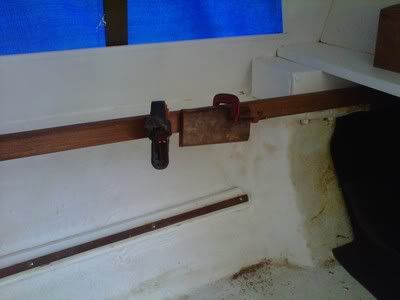
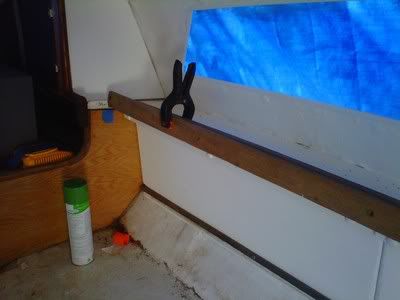
I had to keep moving the clamps and allowing the epoxy to dry in order to keep it tight, but it was finally done and looked good.
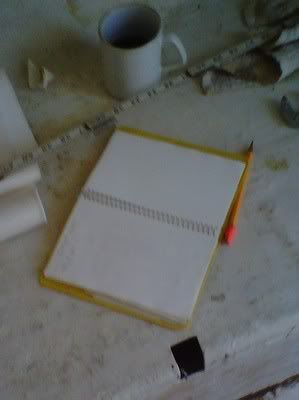
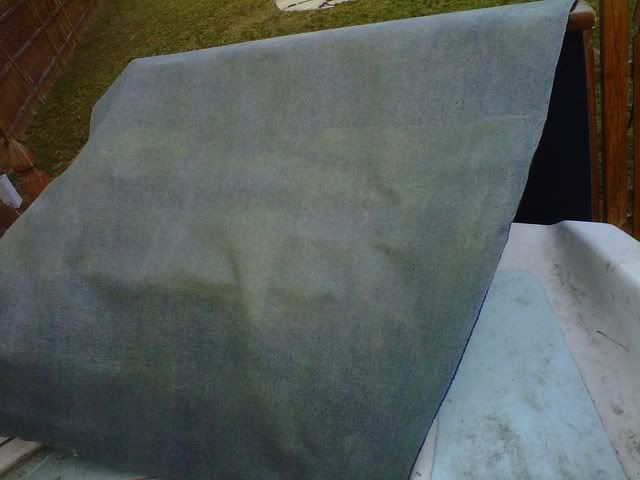
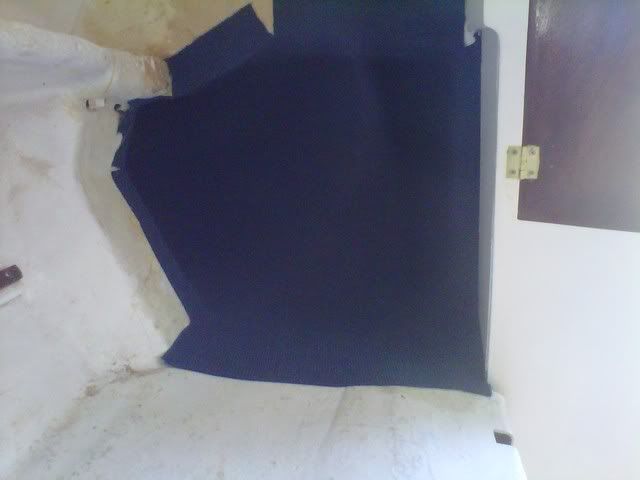
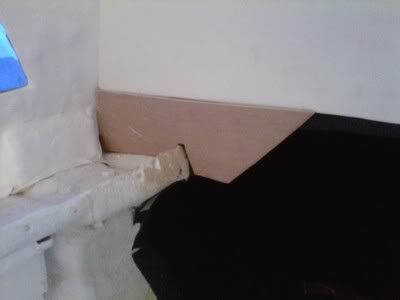
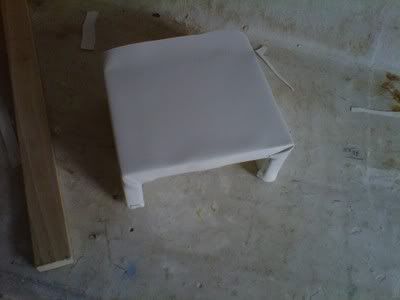
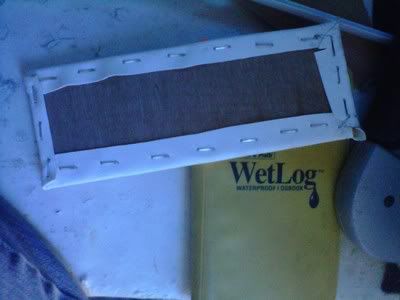
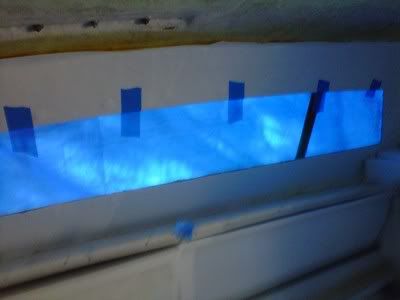
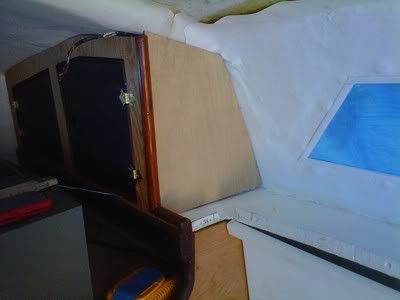
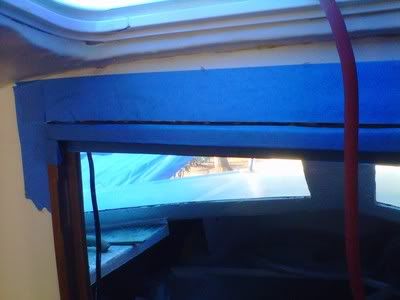
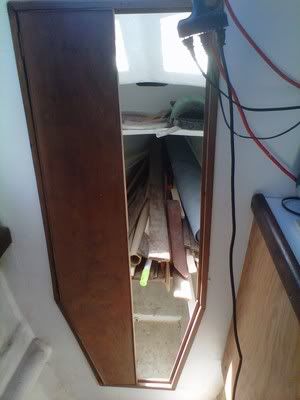
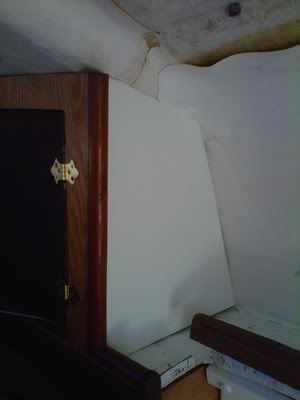
The forward insert was then covered with vinyl and put in place temporarly.
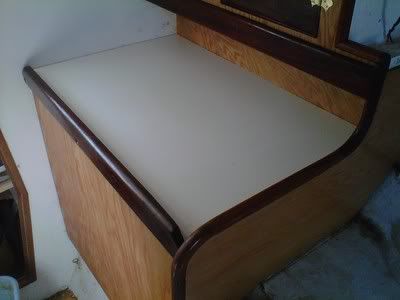
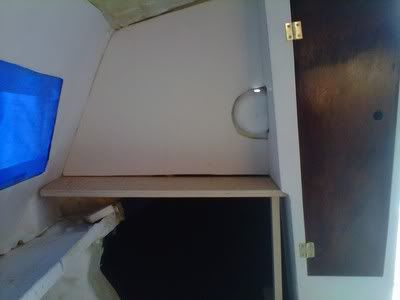
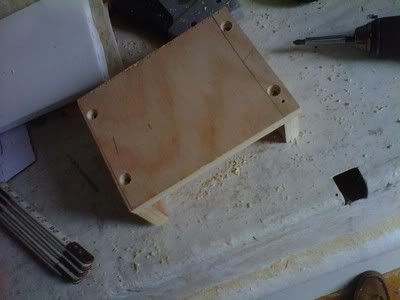
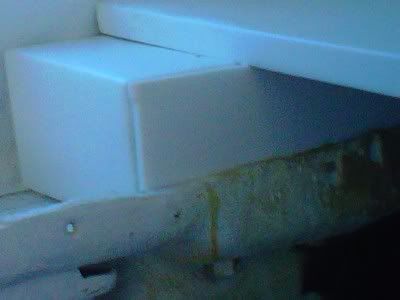
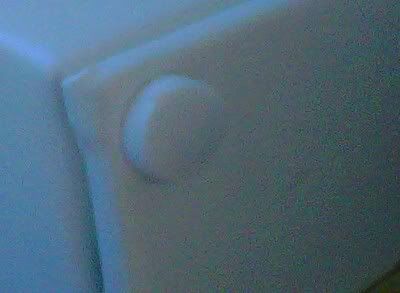
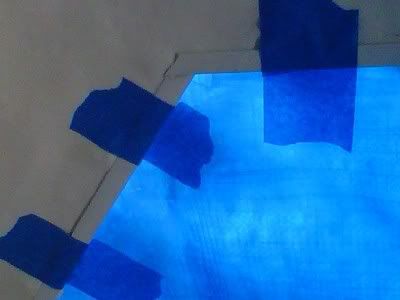
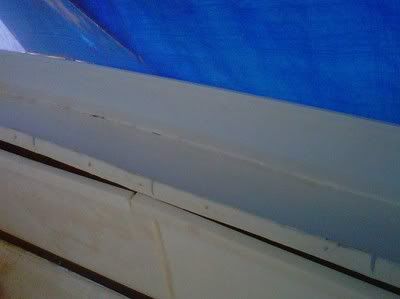
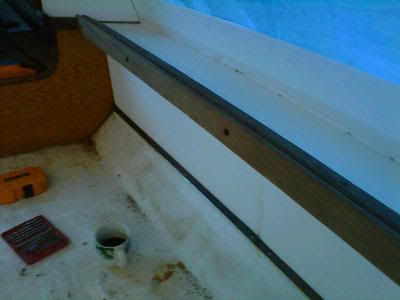
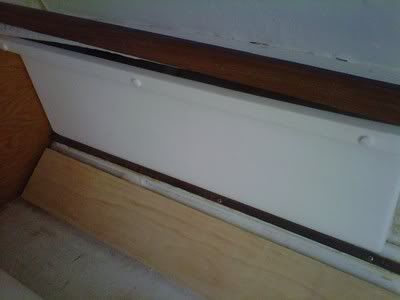
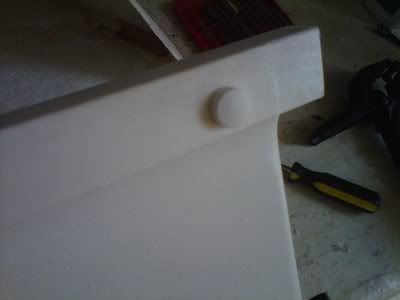
While all of that was setting up, I put a piece of plastic U channel on the top of the storage bins to clean them up and make them look finished. Instead of revealing the screws in a counter sink like I did on the port side, I used my fav. new toy, the plastic covers. I really like the look. I'm going to redo the port side with these.
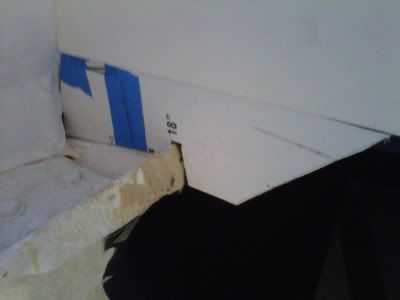
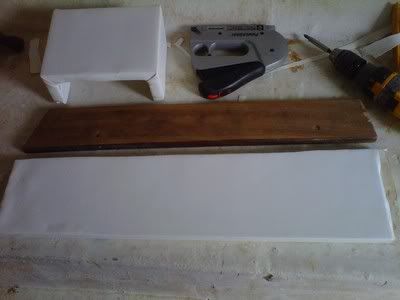
In the original boat, the smaller trim piece was covered by a larger piece of 3" trim cut out for the wooden bin handles which I have eliminated and replaced with the plastic.
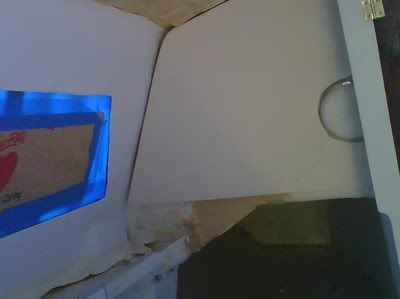
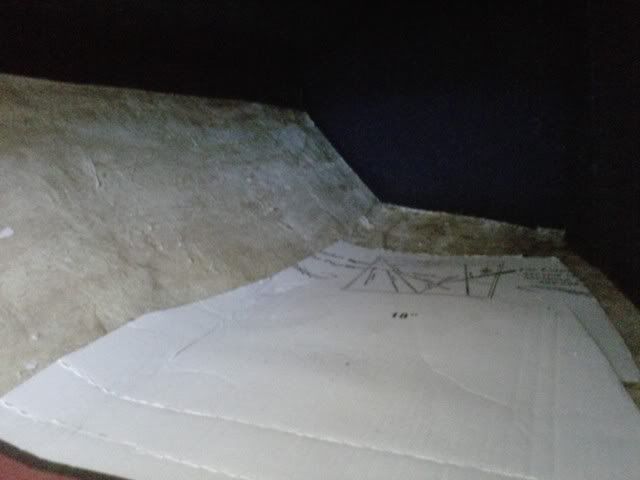
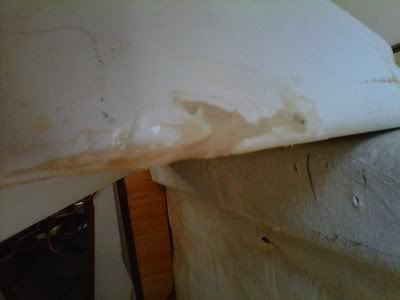
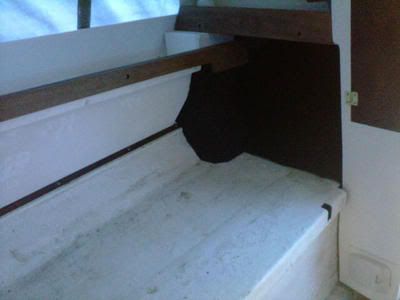
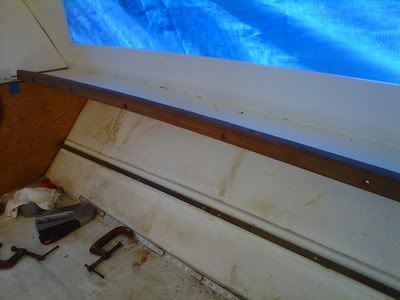
All that needs to be done now, it trim the fore-end to make it fit flush and add a small piece of teak trim between the 3" trim over the bins and the galley trim.
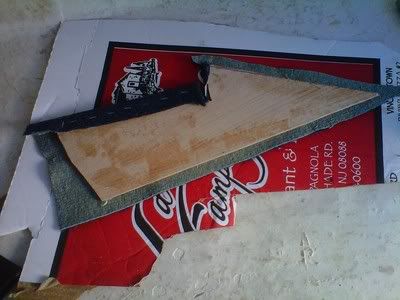
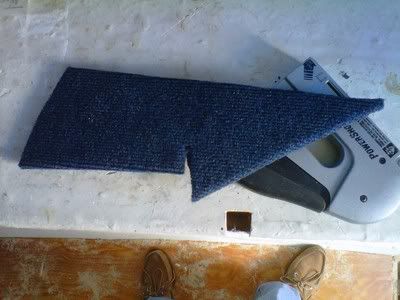
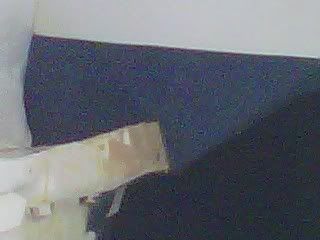
With that, the woodwork is almost finished and the starboard side is read for carpeting so that a track can be installed for the settee to ride on. I'm almost ready to start on the electrical work. If I keep this up, I should be working on the electrical within a couple of weeks. Then I can get the forepeak finished, do some updating on the port side to put the improved items in there and finish up in the cabin.
I have been thinking about the engine and I am seriously considering foregoing the jet unit now, in favor of hanging an outboard for the time being. That way, I can mount the hardware, put a coat of paint on and get the boat to the yard to launch it. I can return to the engine installation next winter. I have the sails and brackets done, so there is nothing stopping me from sailing. I am fairly sure this is the plan.
Lou