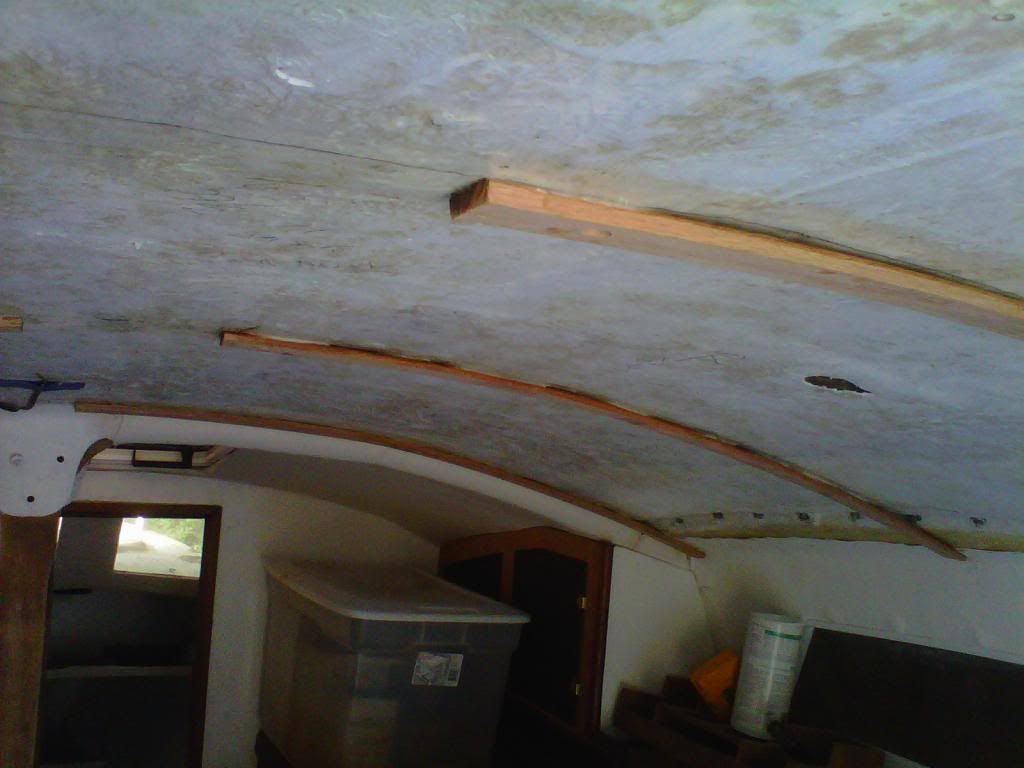
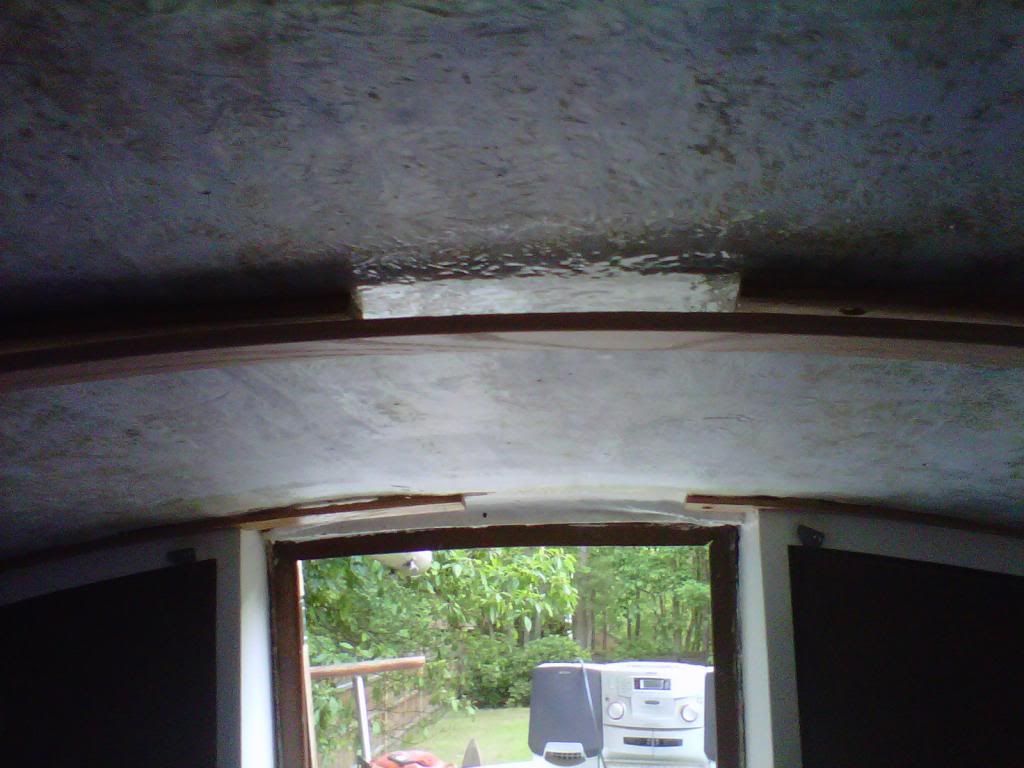
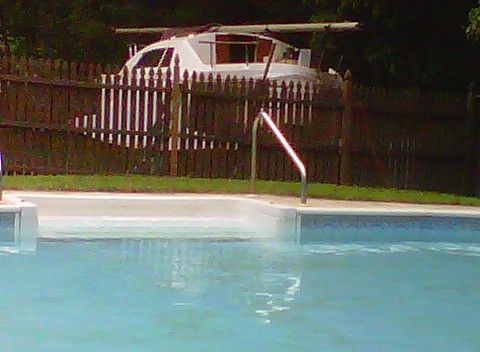
I finally settled down the chaos that resulted from the departure of my partner of 10 years from our firm and started back on the boat in May. I have a lot of pictures that I will post as I can squeeze them in. I'm in the process of finishing up the ceiling at the moment. I'm struggling with the materials available to make the panels needed to span in the ribs I've bonded onto the coachroof. Here are the most recent pictures so you can see the progress on the ceiling.
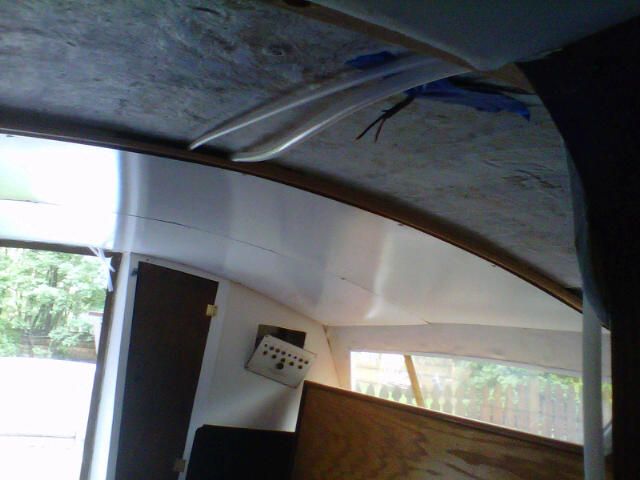
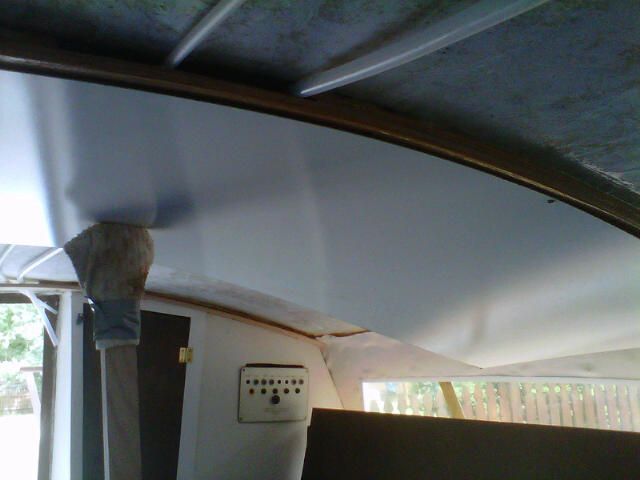
The design challenge was to make a ceiling that will give me access to the coachroof for any future expansion, such as a second hatch, winches near the cockpit and solar panels. I also have decided that the best way to run additional wiring is on the roof (I am repairing the existing electrical system but intend to completely replace it in the future. I decided to use oak strips to make the ribs for the ceiling panels. The strips are bonded onto the coachroof in such as was as to provide a pathway for wiring.
I started by bonding oak doorstop molding strips onto the coachroof. The short length is purposeful.
The strips were located 24" on center from each other.
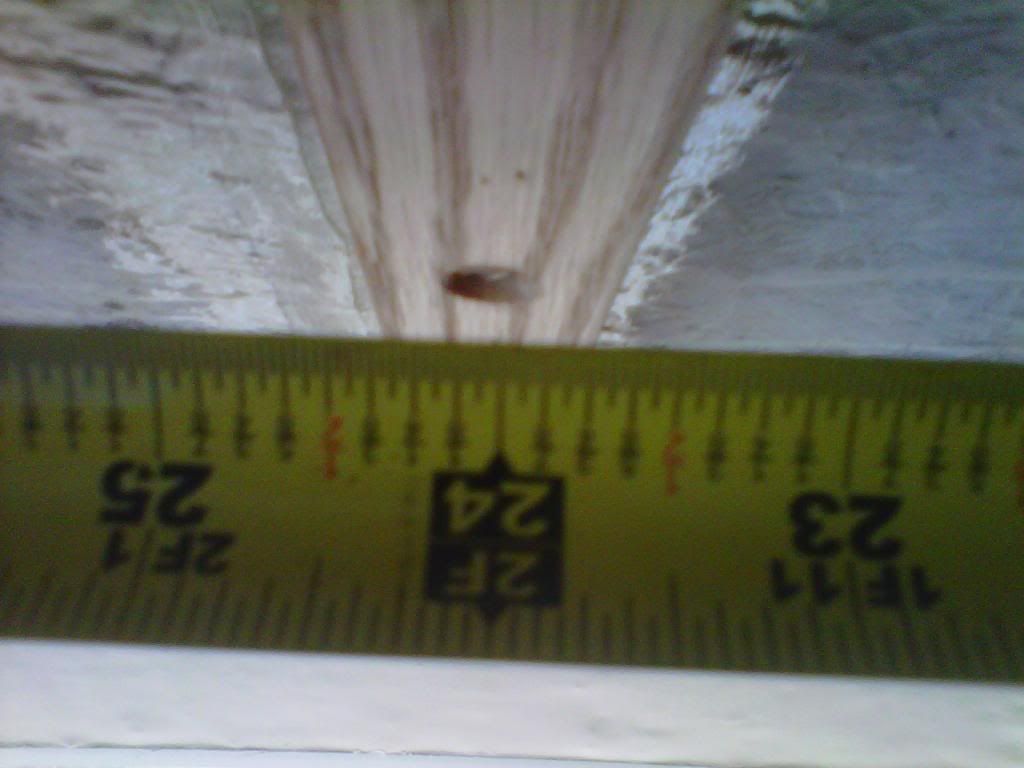
That permits 3 24" wide panels to cover the entire ceiling. Caution here, nothing is square on the coachroof. There are minor variances from side to side and front to back. For instance the port side from back to front is 3/4" longer than the starboard. I started in the middle and worked out toward the ends. That permitted me to strike a perpendicular line to make the ceiling straight. But, realize that nothing is going to be perfect and you have to fudge all the measurements (fuzzy math?).
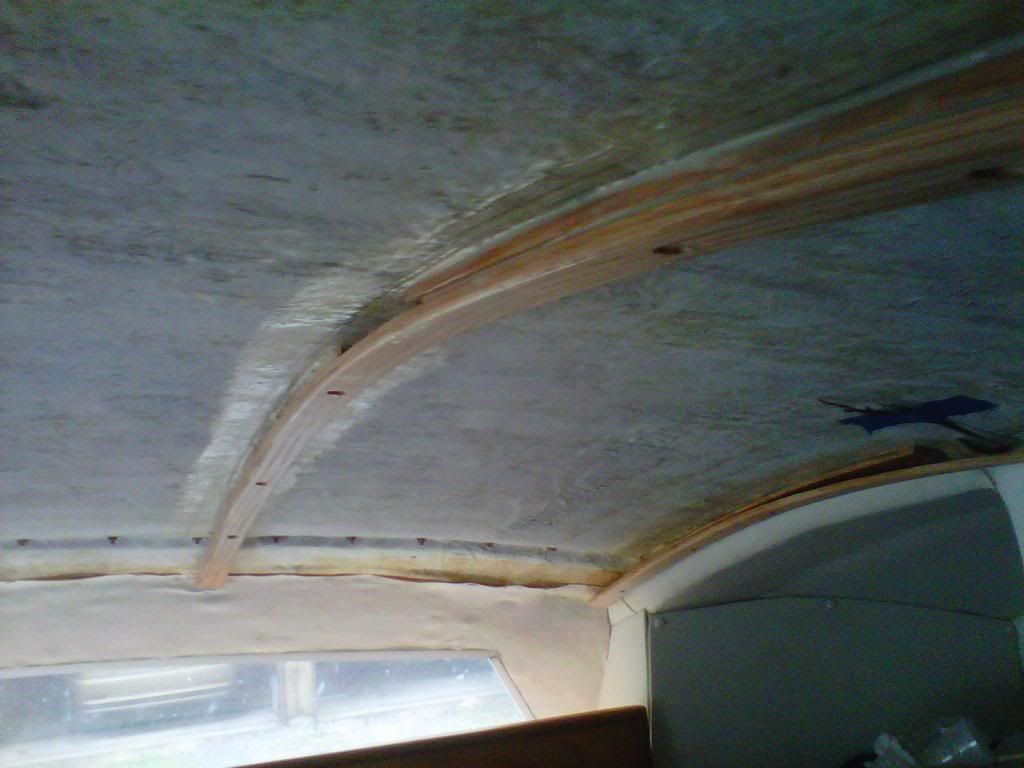
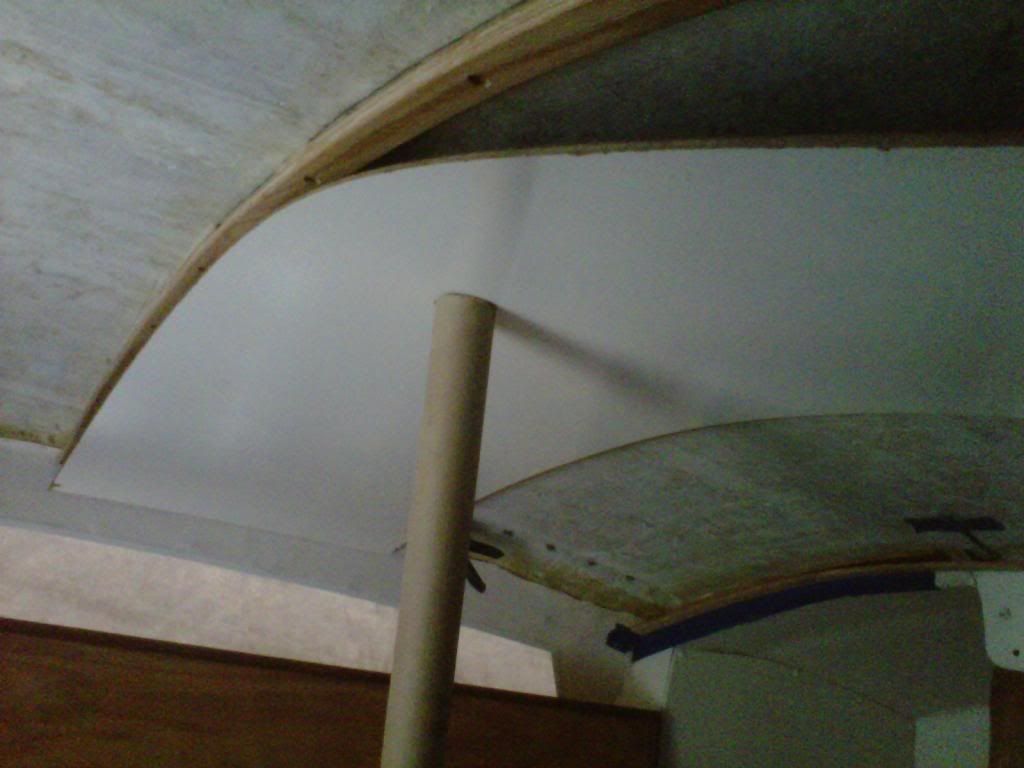
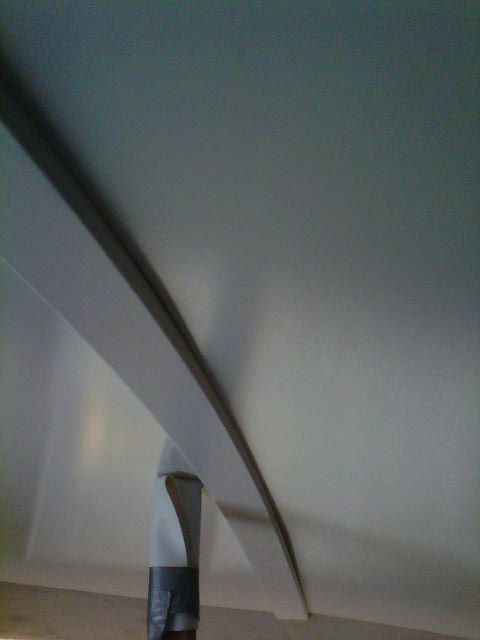
Once the base strips were bonded, I added a filet bond and then placed a strip to cover the entire coachroof.
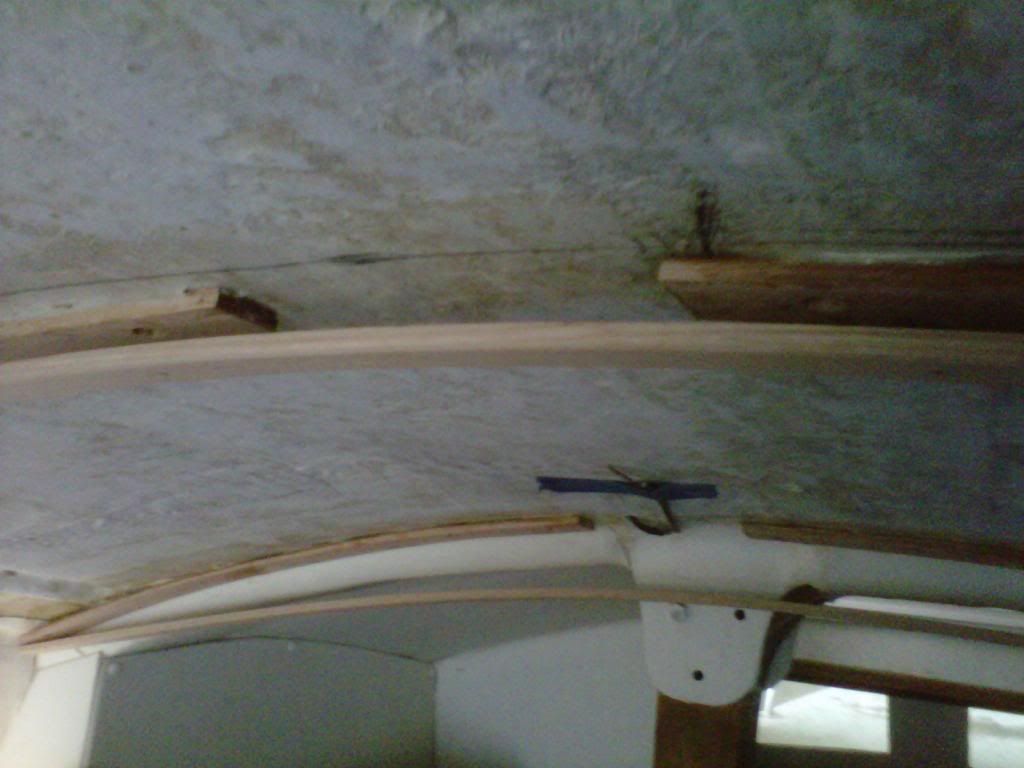
Those strips were screwed and bonded to the base strip.
You can see the space this creates to run wiring in the ceiling.
These ribs should be plenty strong and may even strengthen the coachroof for when I make a cutout for the second hatch I intend to install eventually.
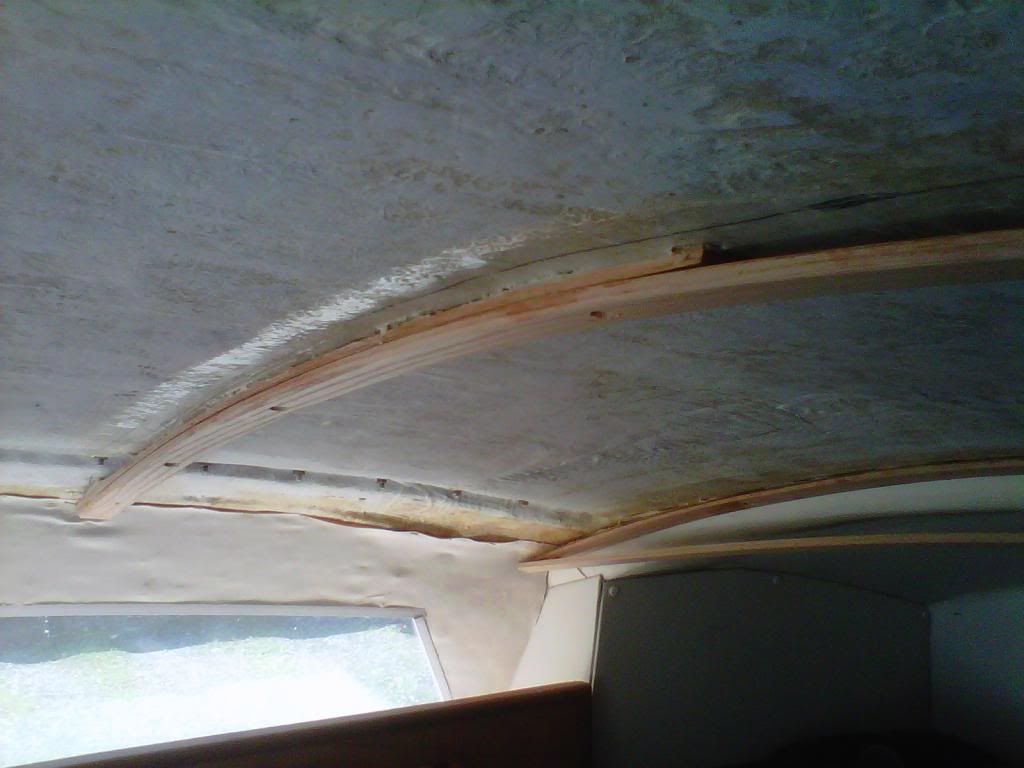
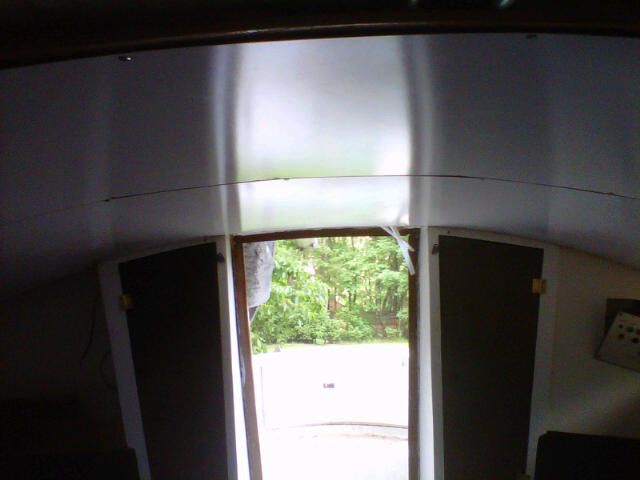
Here's what it looks like when it's nearly done.
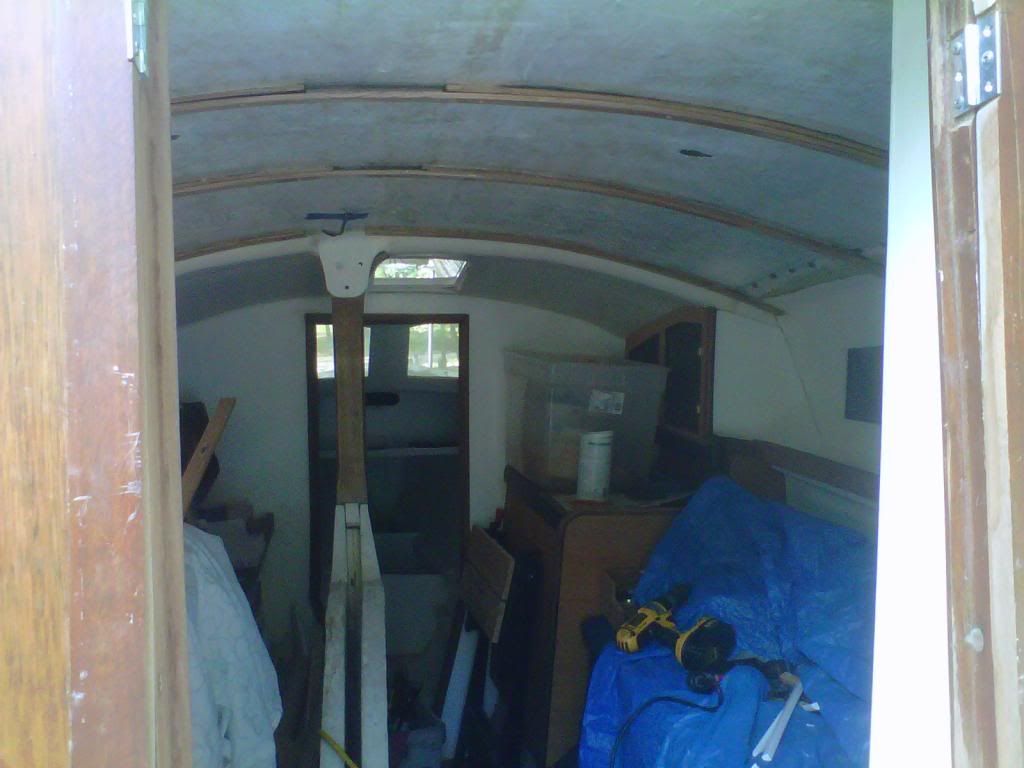
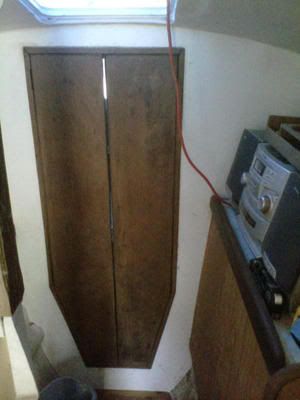
The design allows the original door trim to be reused.
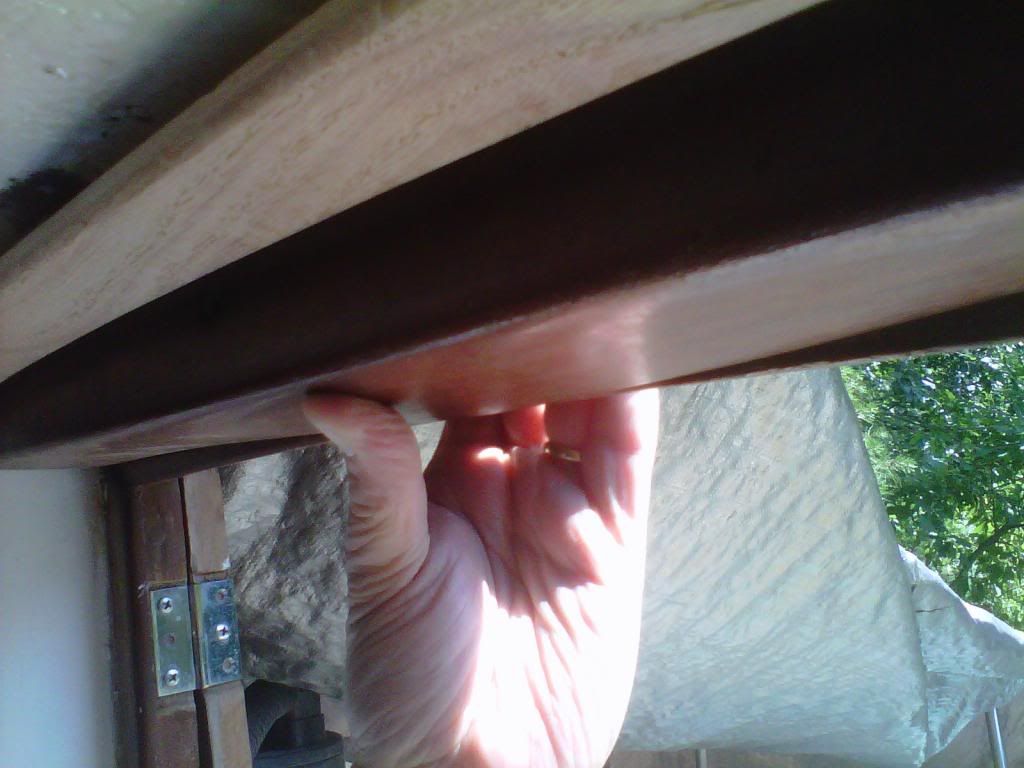
I am using a white finished Masonite for a template maker, but like the way it looks and considering using it for now. I am concerned that the Masonite will not stand up well to moisture. I'm sure that a piece of fiberglass or formica would be a better option but this is so easy to work with that I am just thinking about screwing the template in place. Has anyone else used Masonite? Since everything on top of the ribs is replaceable, it would not be a serious setback if I had to eventually replace the material.
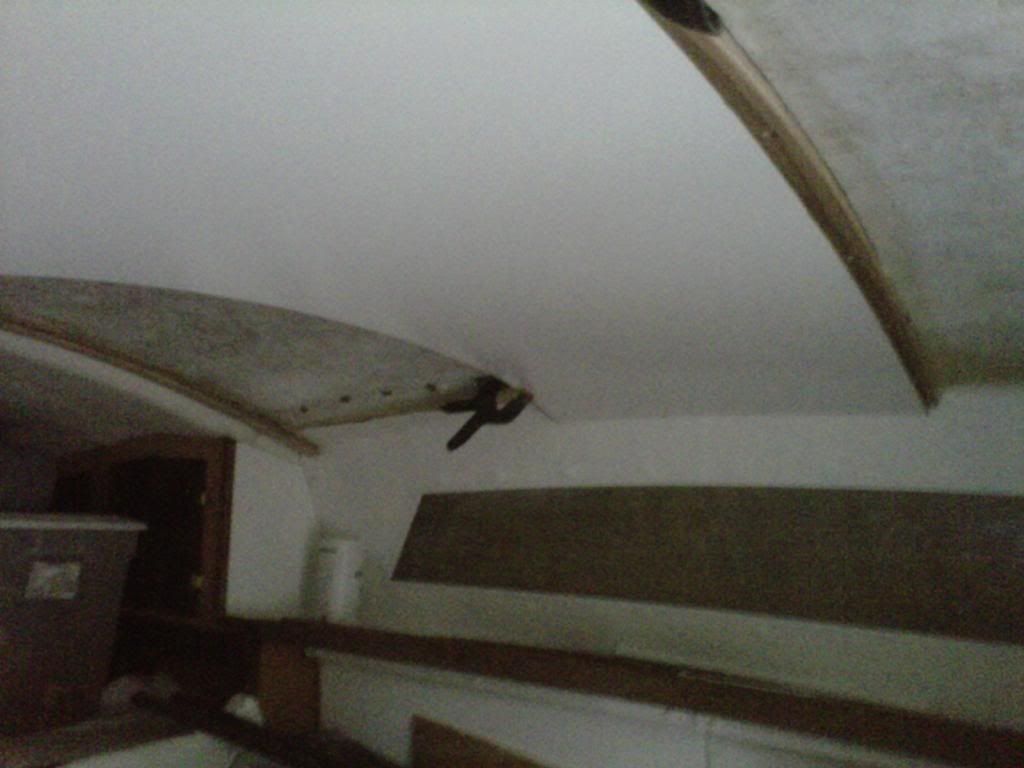
As you can see, at least in the center, I was able to catch the ribs nearly in the middle, leaving room to fasten the other panels. I'll cover the seams with another oak strip.
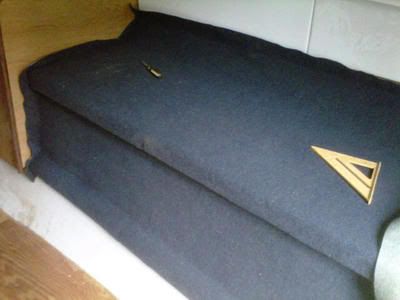
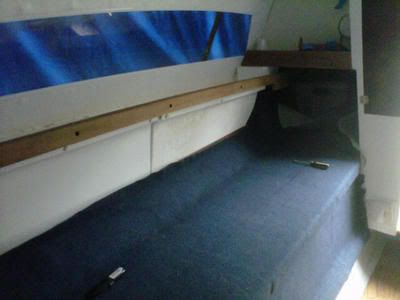
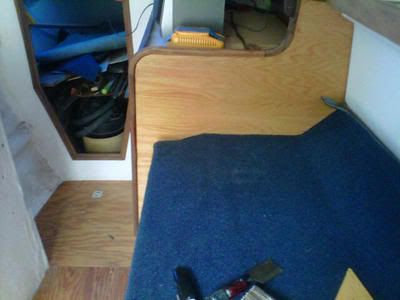
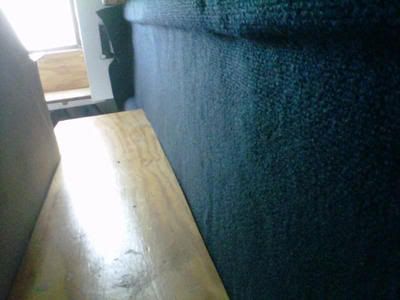
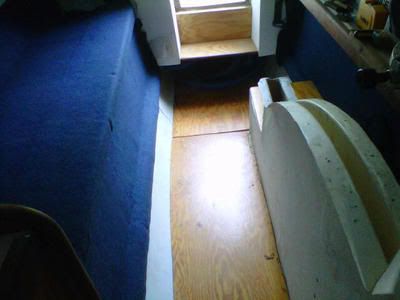
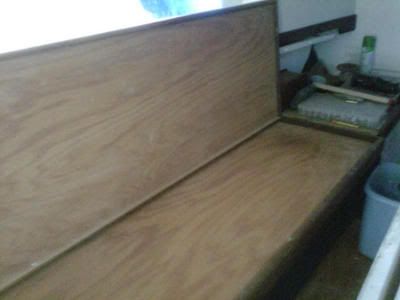
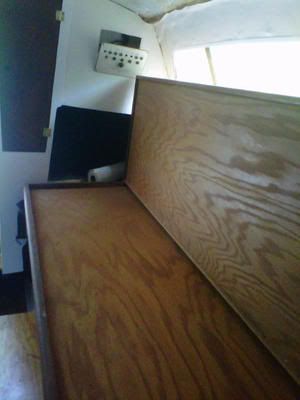
I have been busy with other details elsewhere in the boat. I'm trimming out as much of the cabin as I can and covering certain surfaces with carpet. The interior needs a good cleaning and then I can make a punch list to finish the cabin for now.
The goal here is to get the boat to water as soon as I can. I am streamlining the rest of the work to that end. I'll post pictures of the details I've been working on when I get some more time. For now, enjoy your season. I'm glad to be less focused on work and back working on the boat.
Lou G.